Project presented in Queen’s Prize Tourney 2022.
In tablet weaving, you can spend a considerable amount of time setting up your weaving. It can be extremely frustrating to spend all that time preparing only to discover that what you wanted to do isn’t going to work. The reasons things don’t work are many, from picking yarns that aren’t up to the strains a complicated tablet woven pattern puts on the warp to choosing a pattern that just doesn’t make sense to you once you begin.
This project came from one of these exact situations. I wanted to try to make a set of white crystals on a field of blue. It was a complete mess. I did not make it very far (about 6 rows, actually…) before deciding that it just wasn’t happening. I was left with a wide warp in 2 colors. I didn’t really want several feet of plain chevrons, so I chose to play. Pretty soon, I realized how many things I could do on this single warp.
This experience gave me a better understanding of how the warp moves while following tablet weaving patterns. I also noticed that my tension varied wildly depending on the pattern, which is something I’m going to pay attention to and try to regulate in the future.
Materials
These bands are worked in No.10 Crochet Cotton. This is a mercerized cotton that works well for tablet weaving due to its strength and smooth surface. Most of the extant samples have wool warp threads with a finer wool or linen weft. I chose to use crochet cotton because it is readily available, comes in vibrant colors, and weaves easily. Since I was planning to do a new, slightly intimidating, pattern on this warp, I chose a material that would work easily. *Note the metallic thread. This does not weave easily and sticks a lot. My choice of this thread is at least partly at fault for the original plan’s failure.
Switching Patterns
Between samples, I did several steps:
- Cut weft thread and weave in ends.
- Turn and flip cards to match new pattern.
- Place spacers.
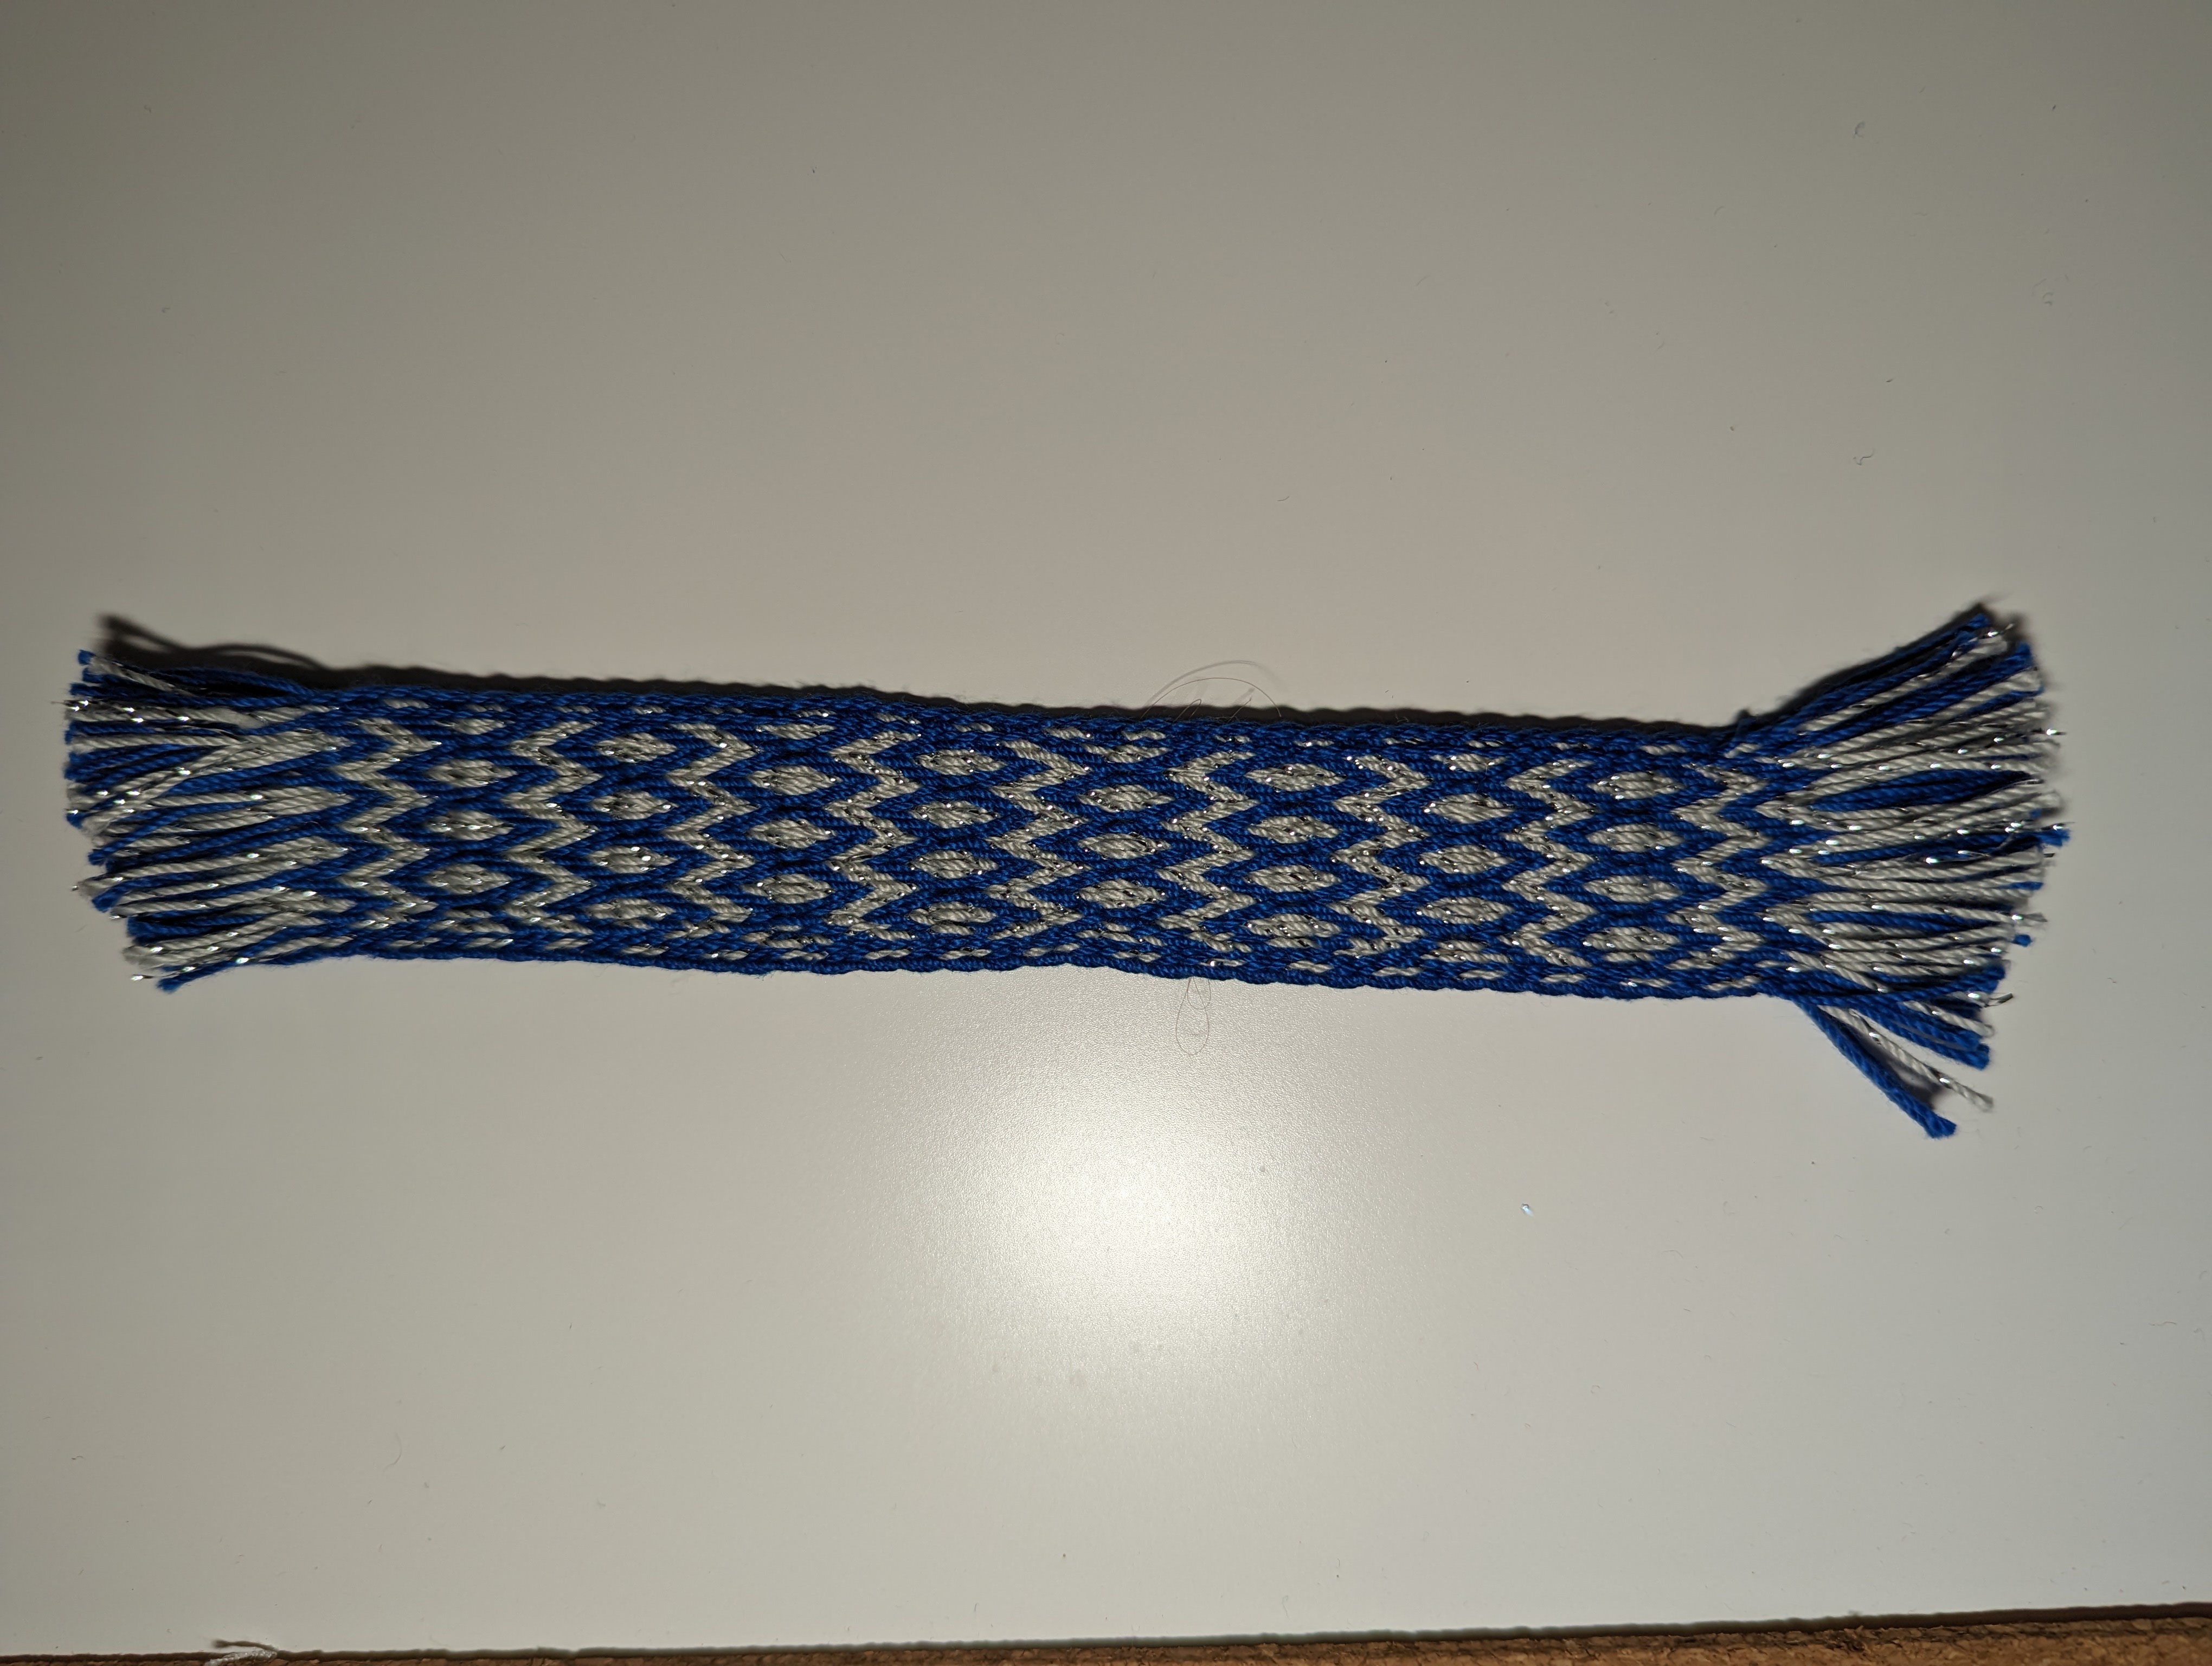
Swatch 1 – Repeating field of diamonds
This was my first pattern after giving up on my original attempt. When I started this pattern, I hadn’t come up with the idea of making samplers but was planning on making the entire warp into a band with this pattern. I started with a very tight tension, didn’t care for how the weave was looking, and got bored quickly.
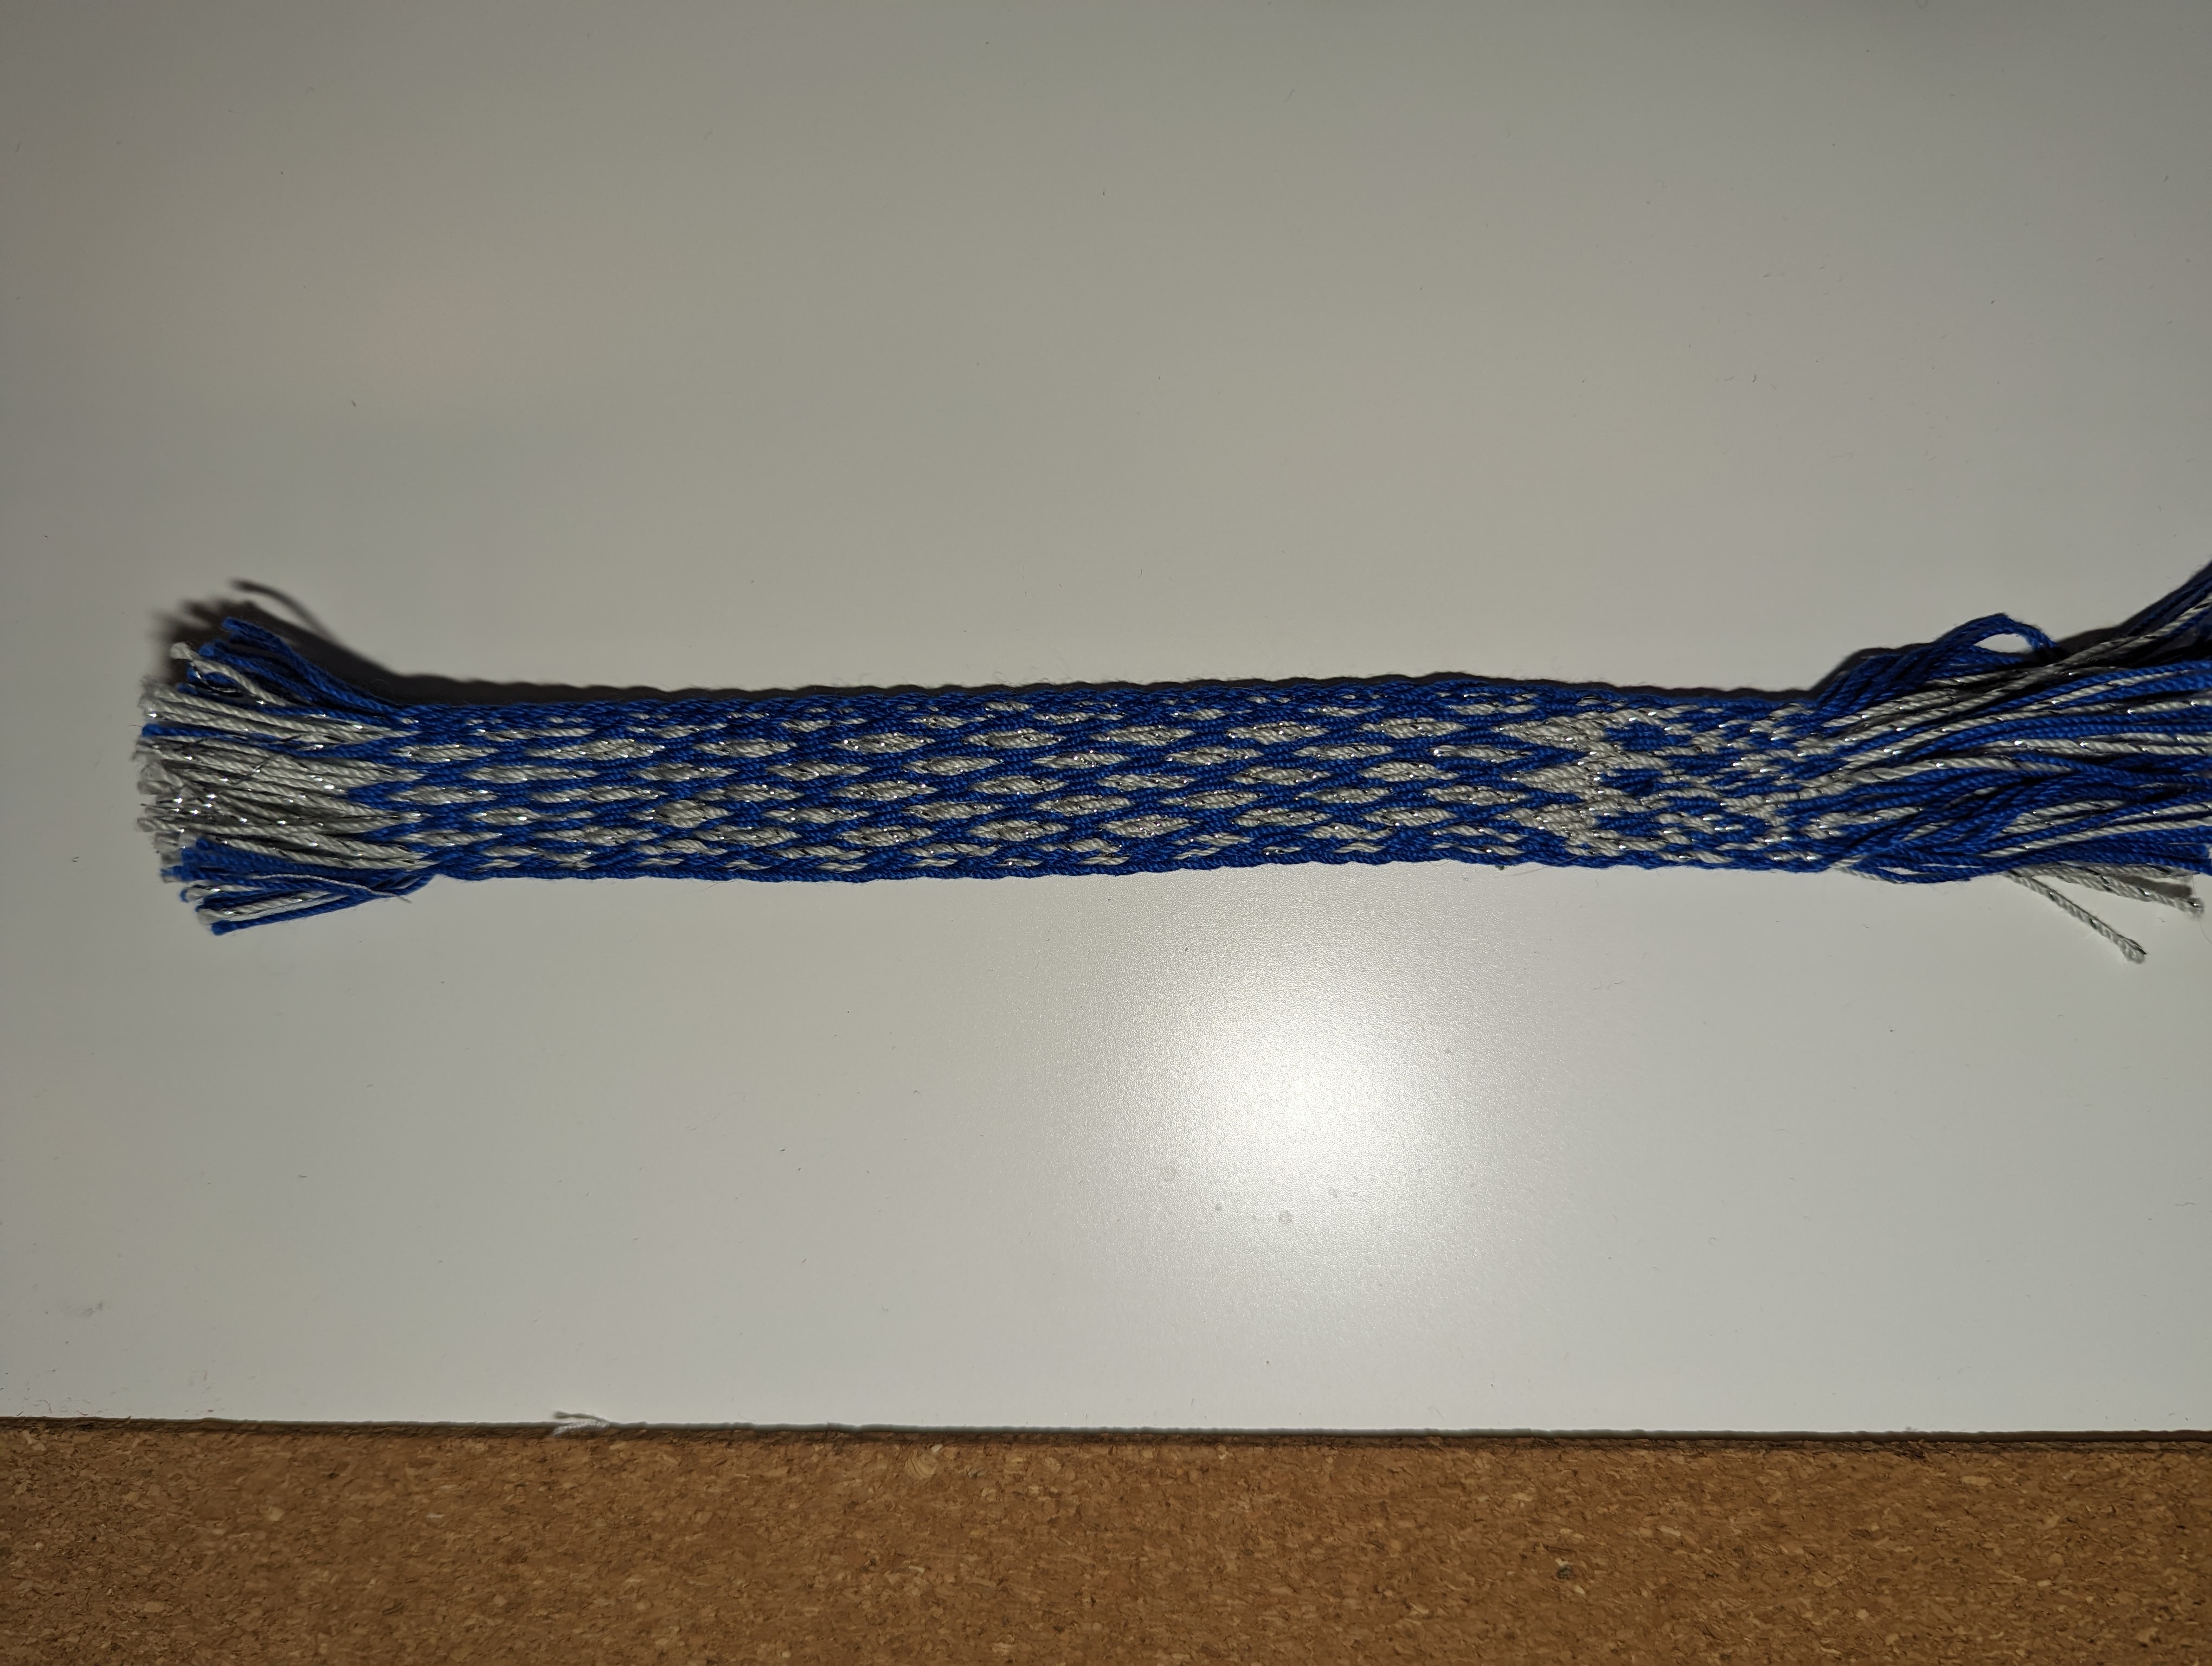
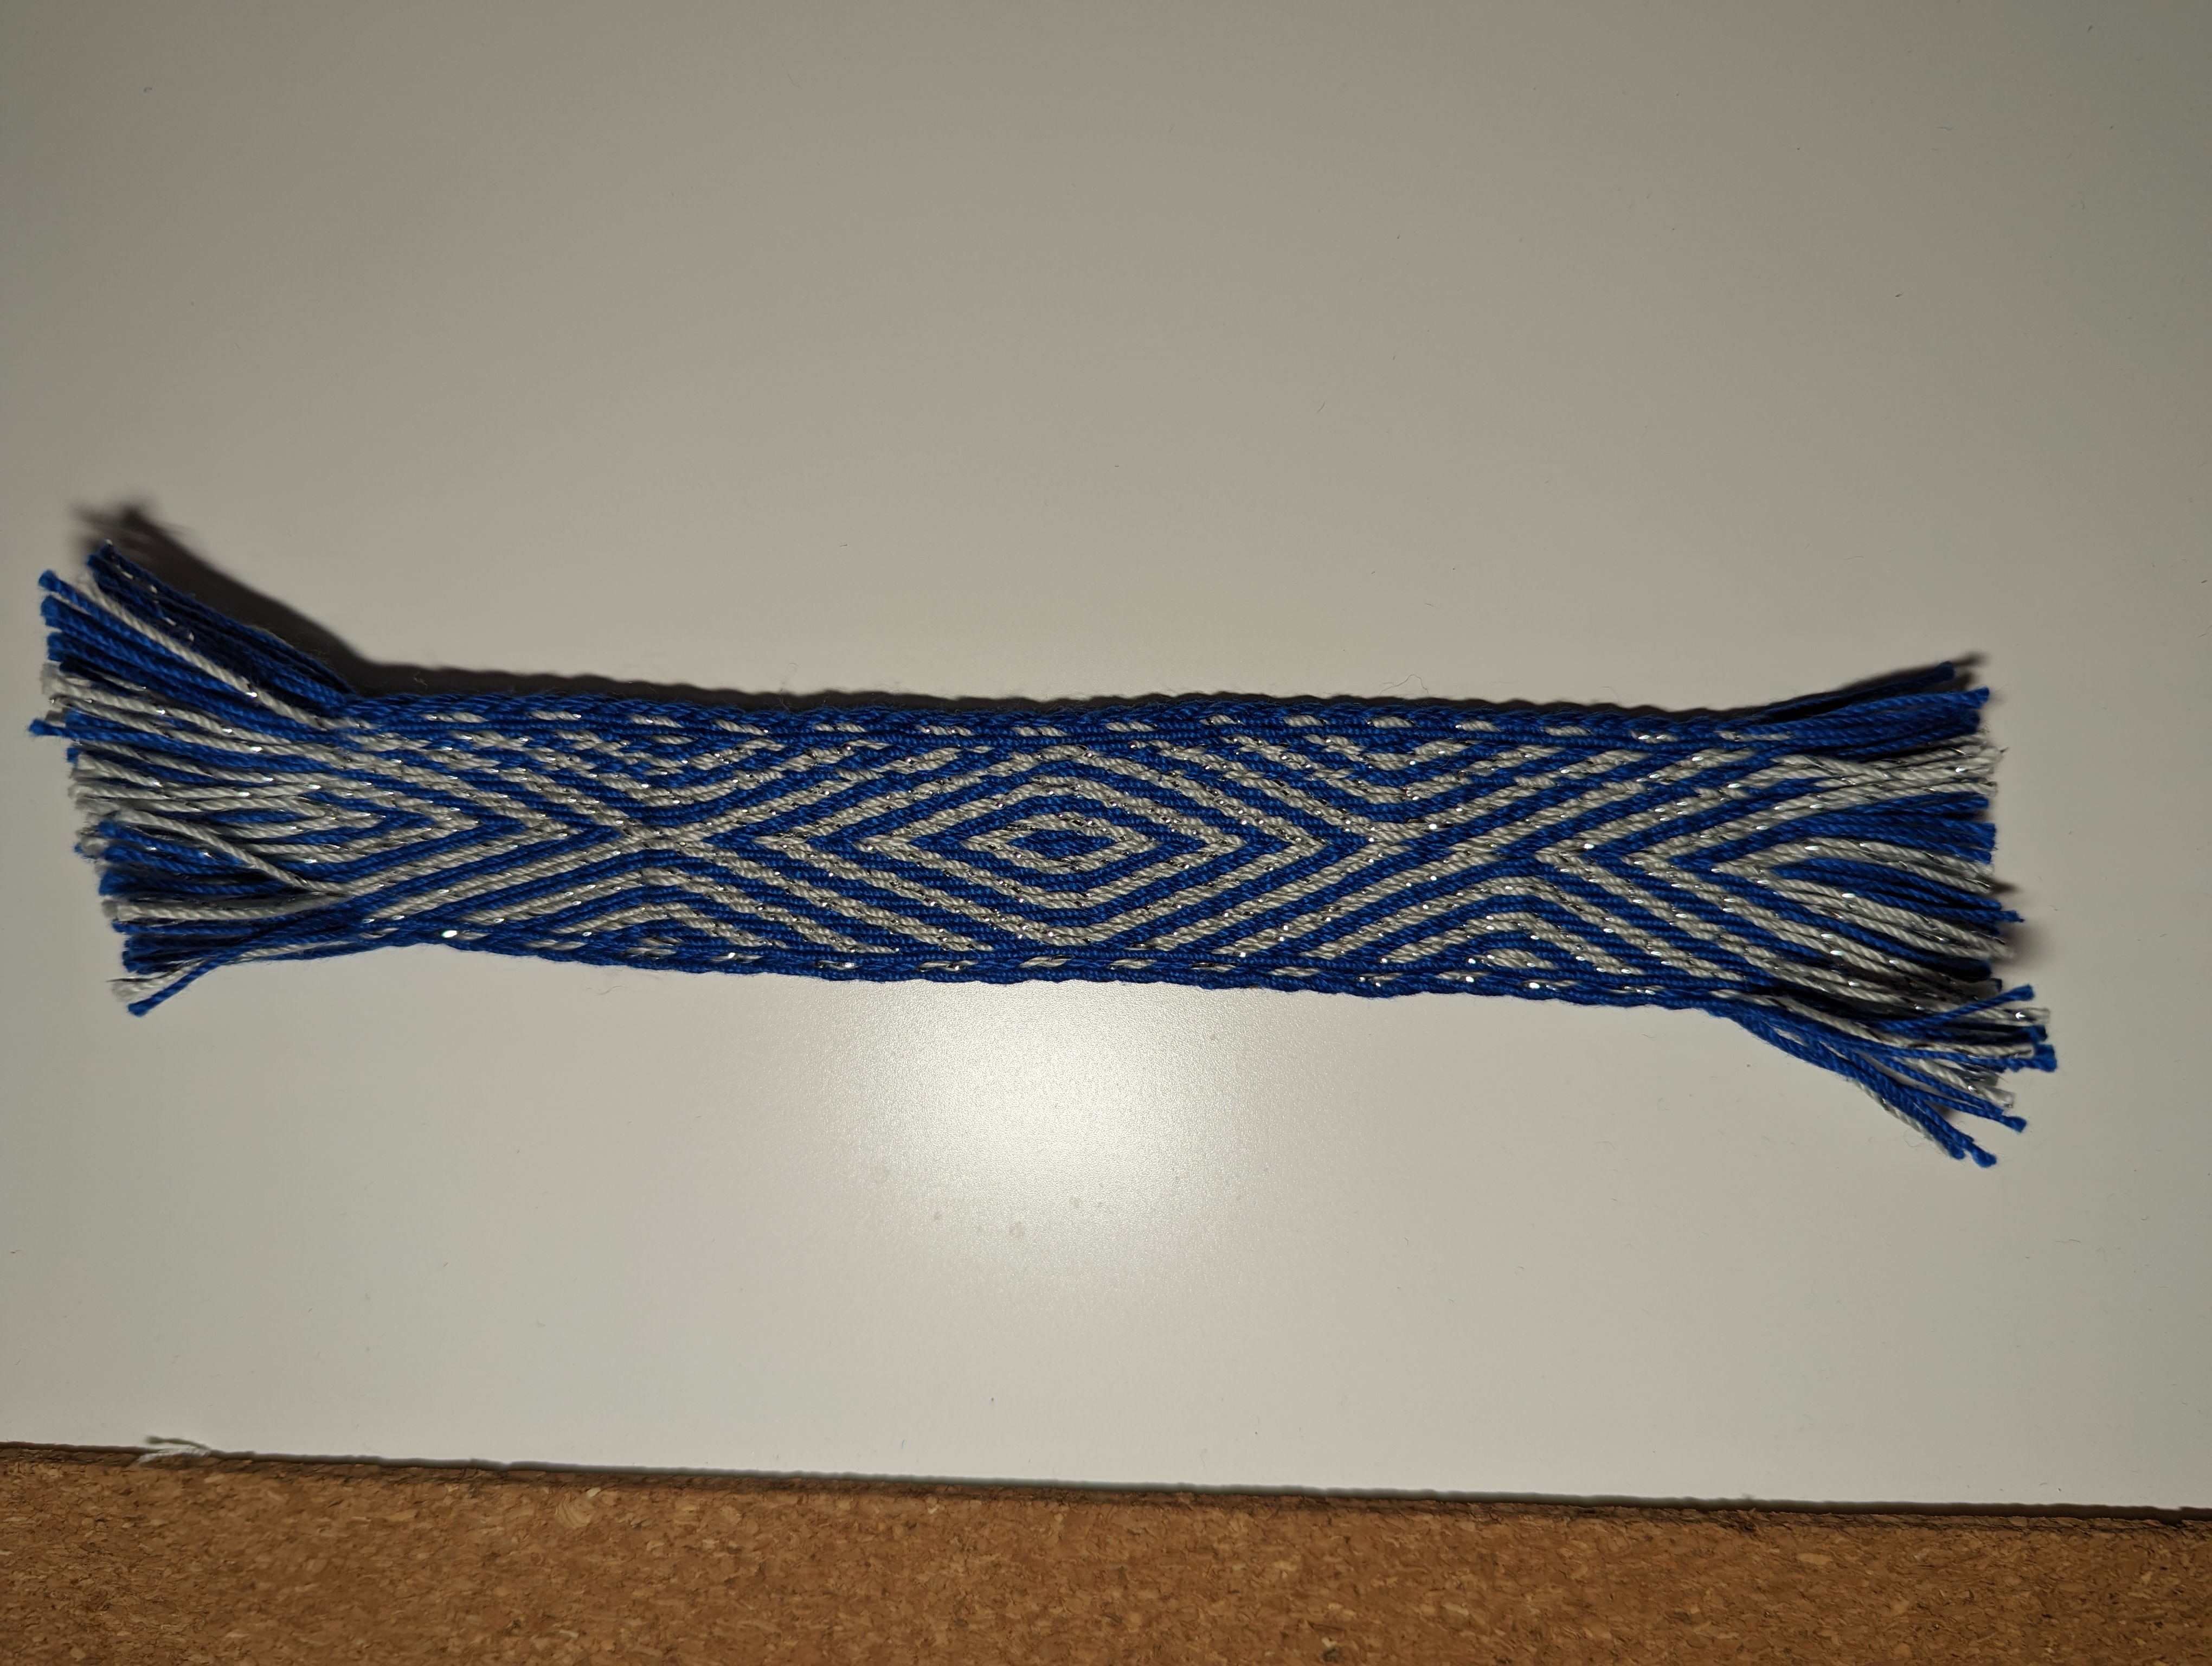
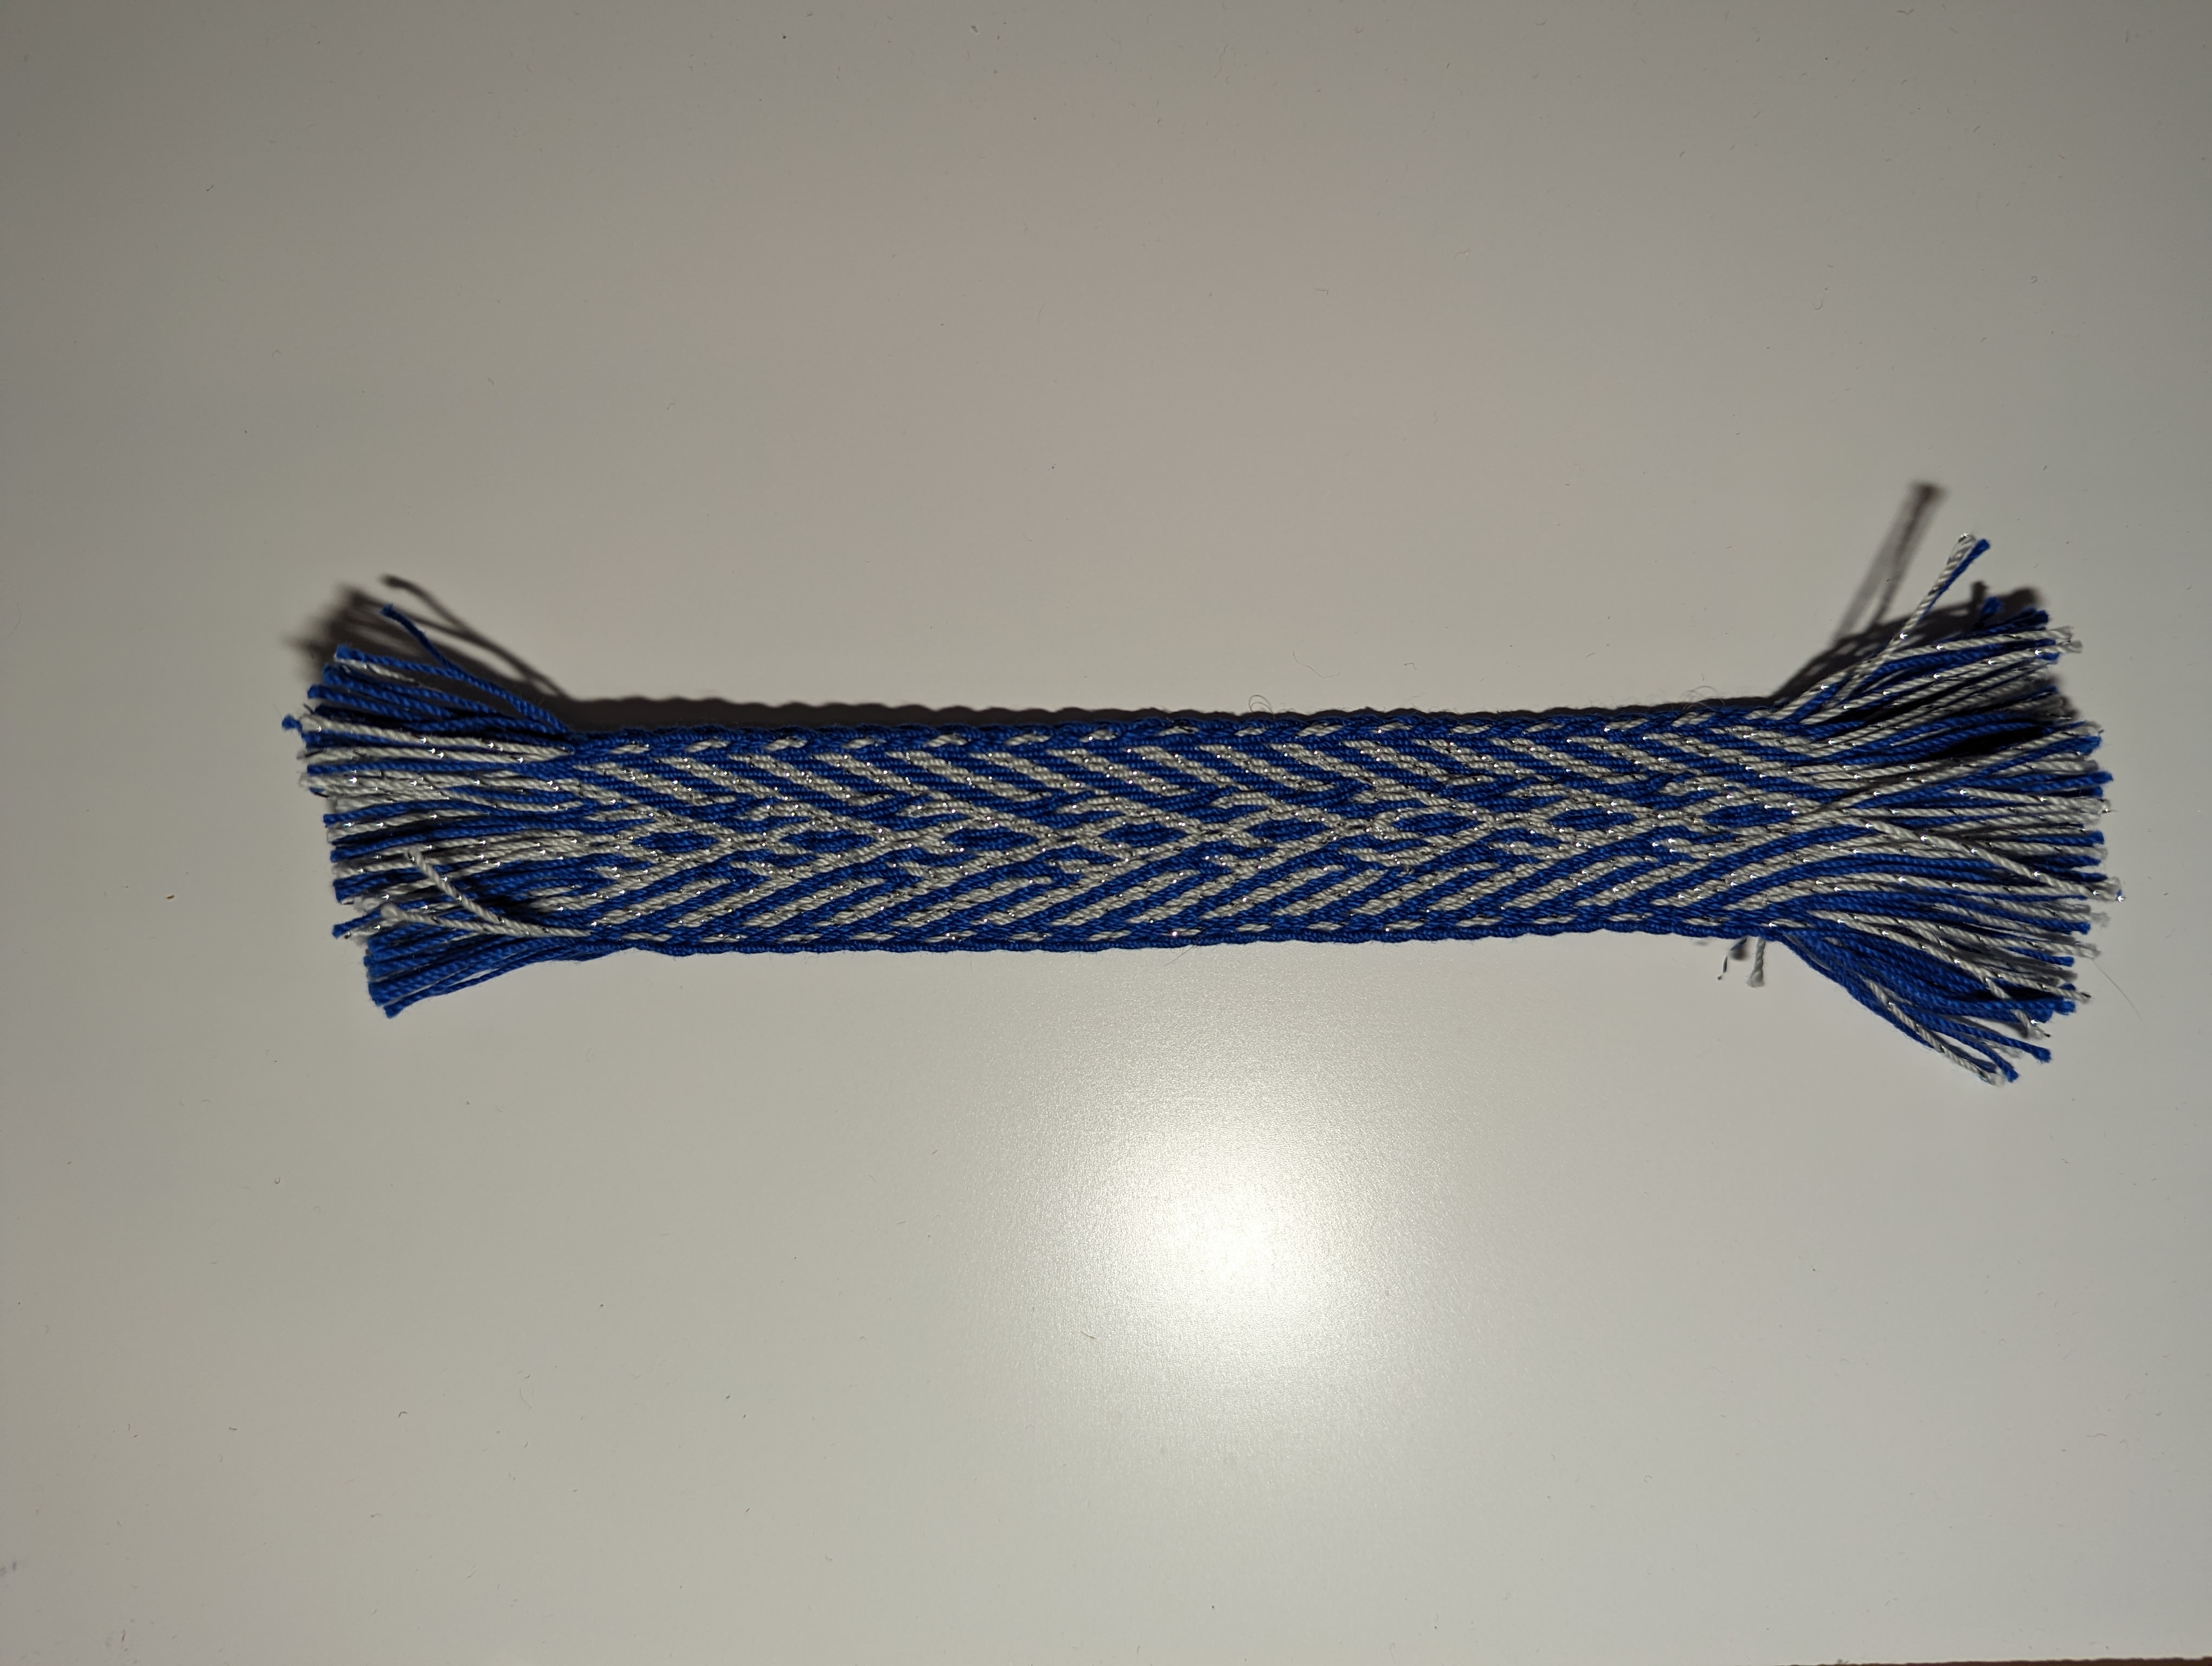
Swatch 2 – Diamonds, Chevrons, and Diagonals
This sample started as a free-form pattern. I started with the idea of doing small jogs and turns, but ended up doing a basic diamond and chevron repeat.
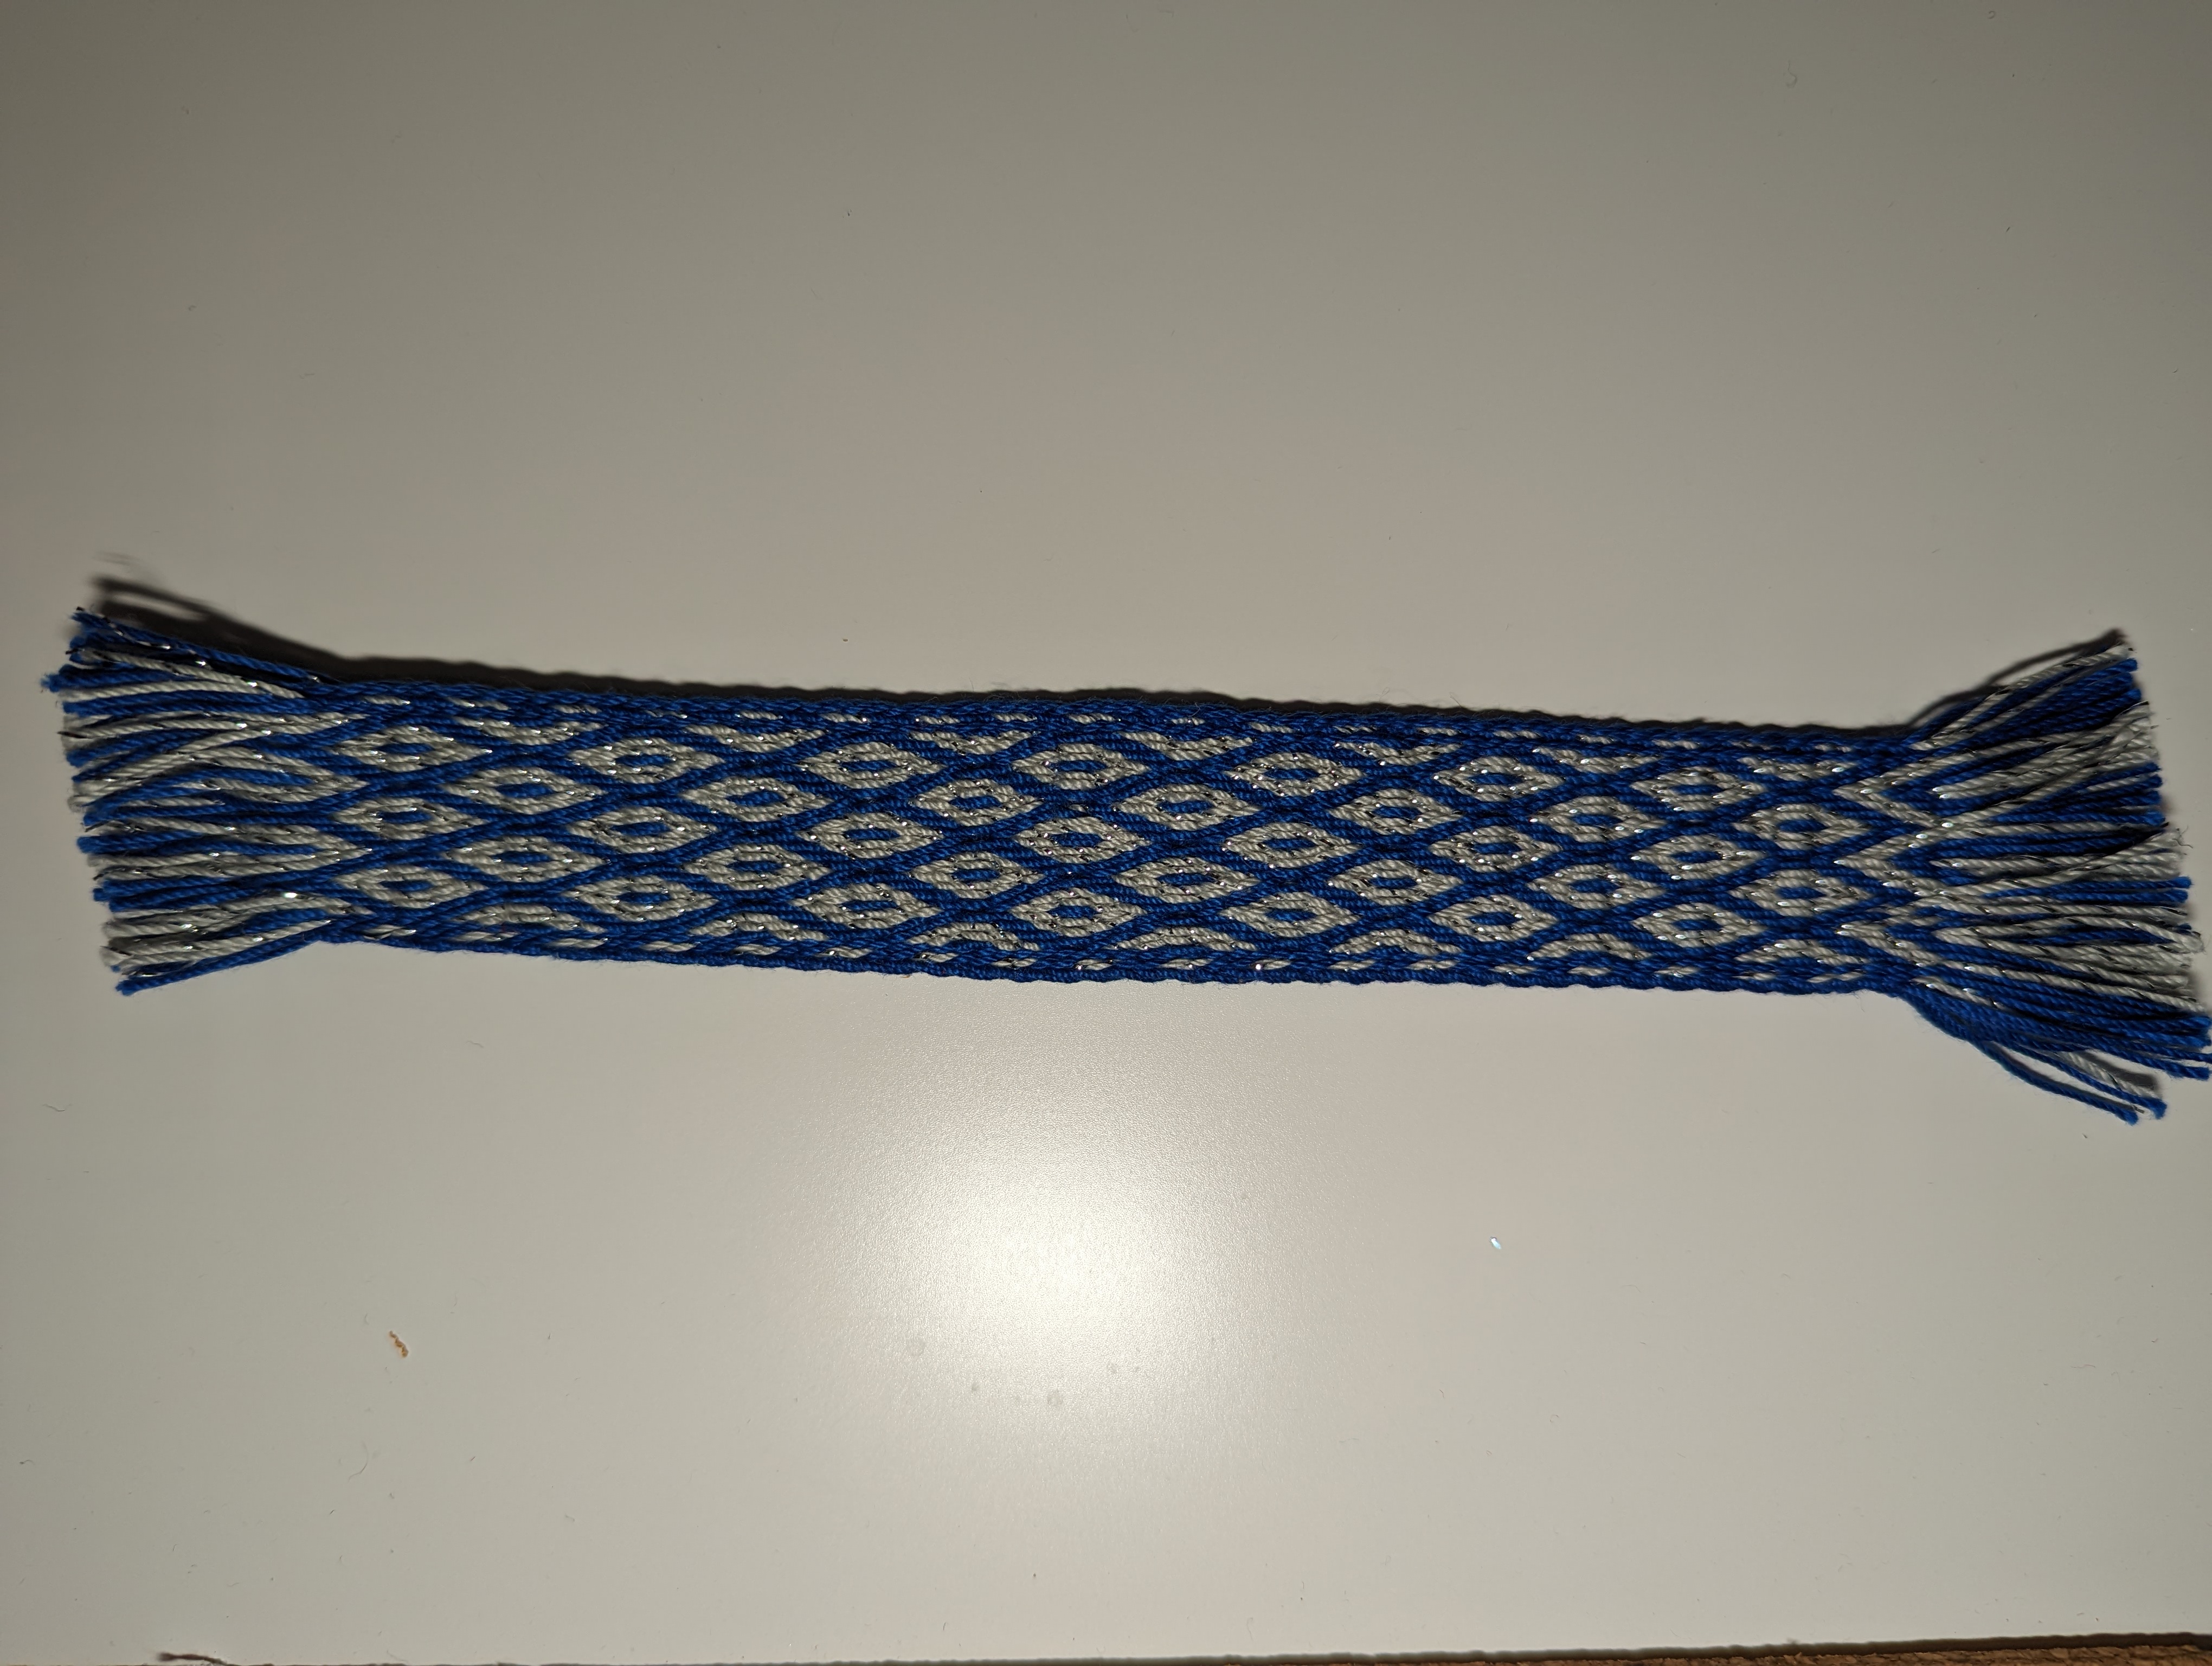
Swatch 3 – “Little Chicken Toes with Bird’s Eyes”
This is a pattern from Applesies and Fox Noses, Finnish Tabletwoven Bands. I really like the look of this band and have done it before. It weaves up fast and easily.
Swatch 4 – “Small Applesies”
This is another pattern from Applesies and Fox Noses, Finnish Tabletwoven Bands. This is another fast and easy pattern. I like the look of it a lot, and based on the number of comments I got on it while I was weaving, I think others like it too.
Swatch 5 – “Bee Feet”
This is another pattern from Applesies and Fox Noses, Finnish Tabletwoven Bands. This is a cute pattern, but is designed for fewer cards than I had warped. The pattern doesn’t easily lend itself to extension like the other patterns I did from the book, so I chose to do diagonals on either side of the main pattern. I think it looks cool.
Swatch 6 – “The S sign”
This is another pattern from Applesies and Fox Noses, Finnish Tabletwoven Bands. Based on notes from the book, this pattern comes from a fragment of a band found in the Kaukola Kekomaki graveyard and dating from the Carnelian Iron Age. Because I extended the pattern to the width of my warp, the “S” gets lost in the band, but you can see it in the middle threads if you look closely.
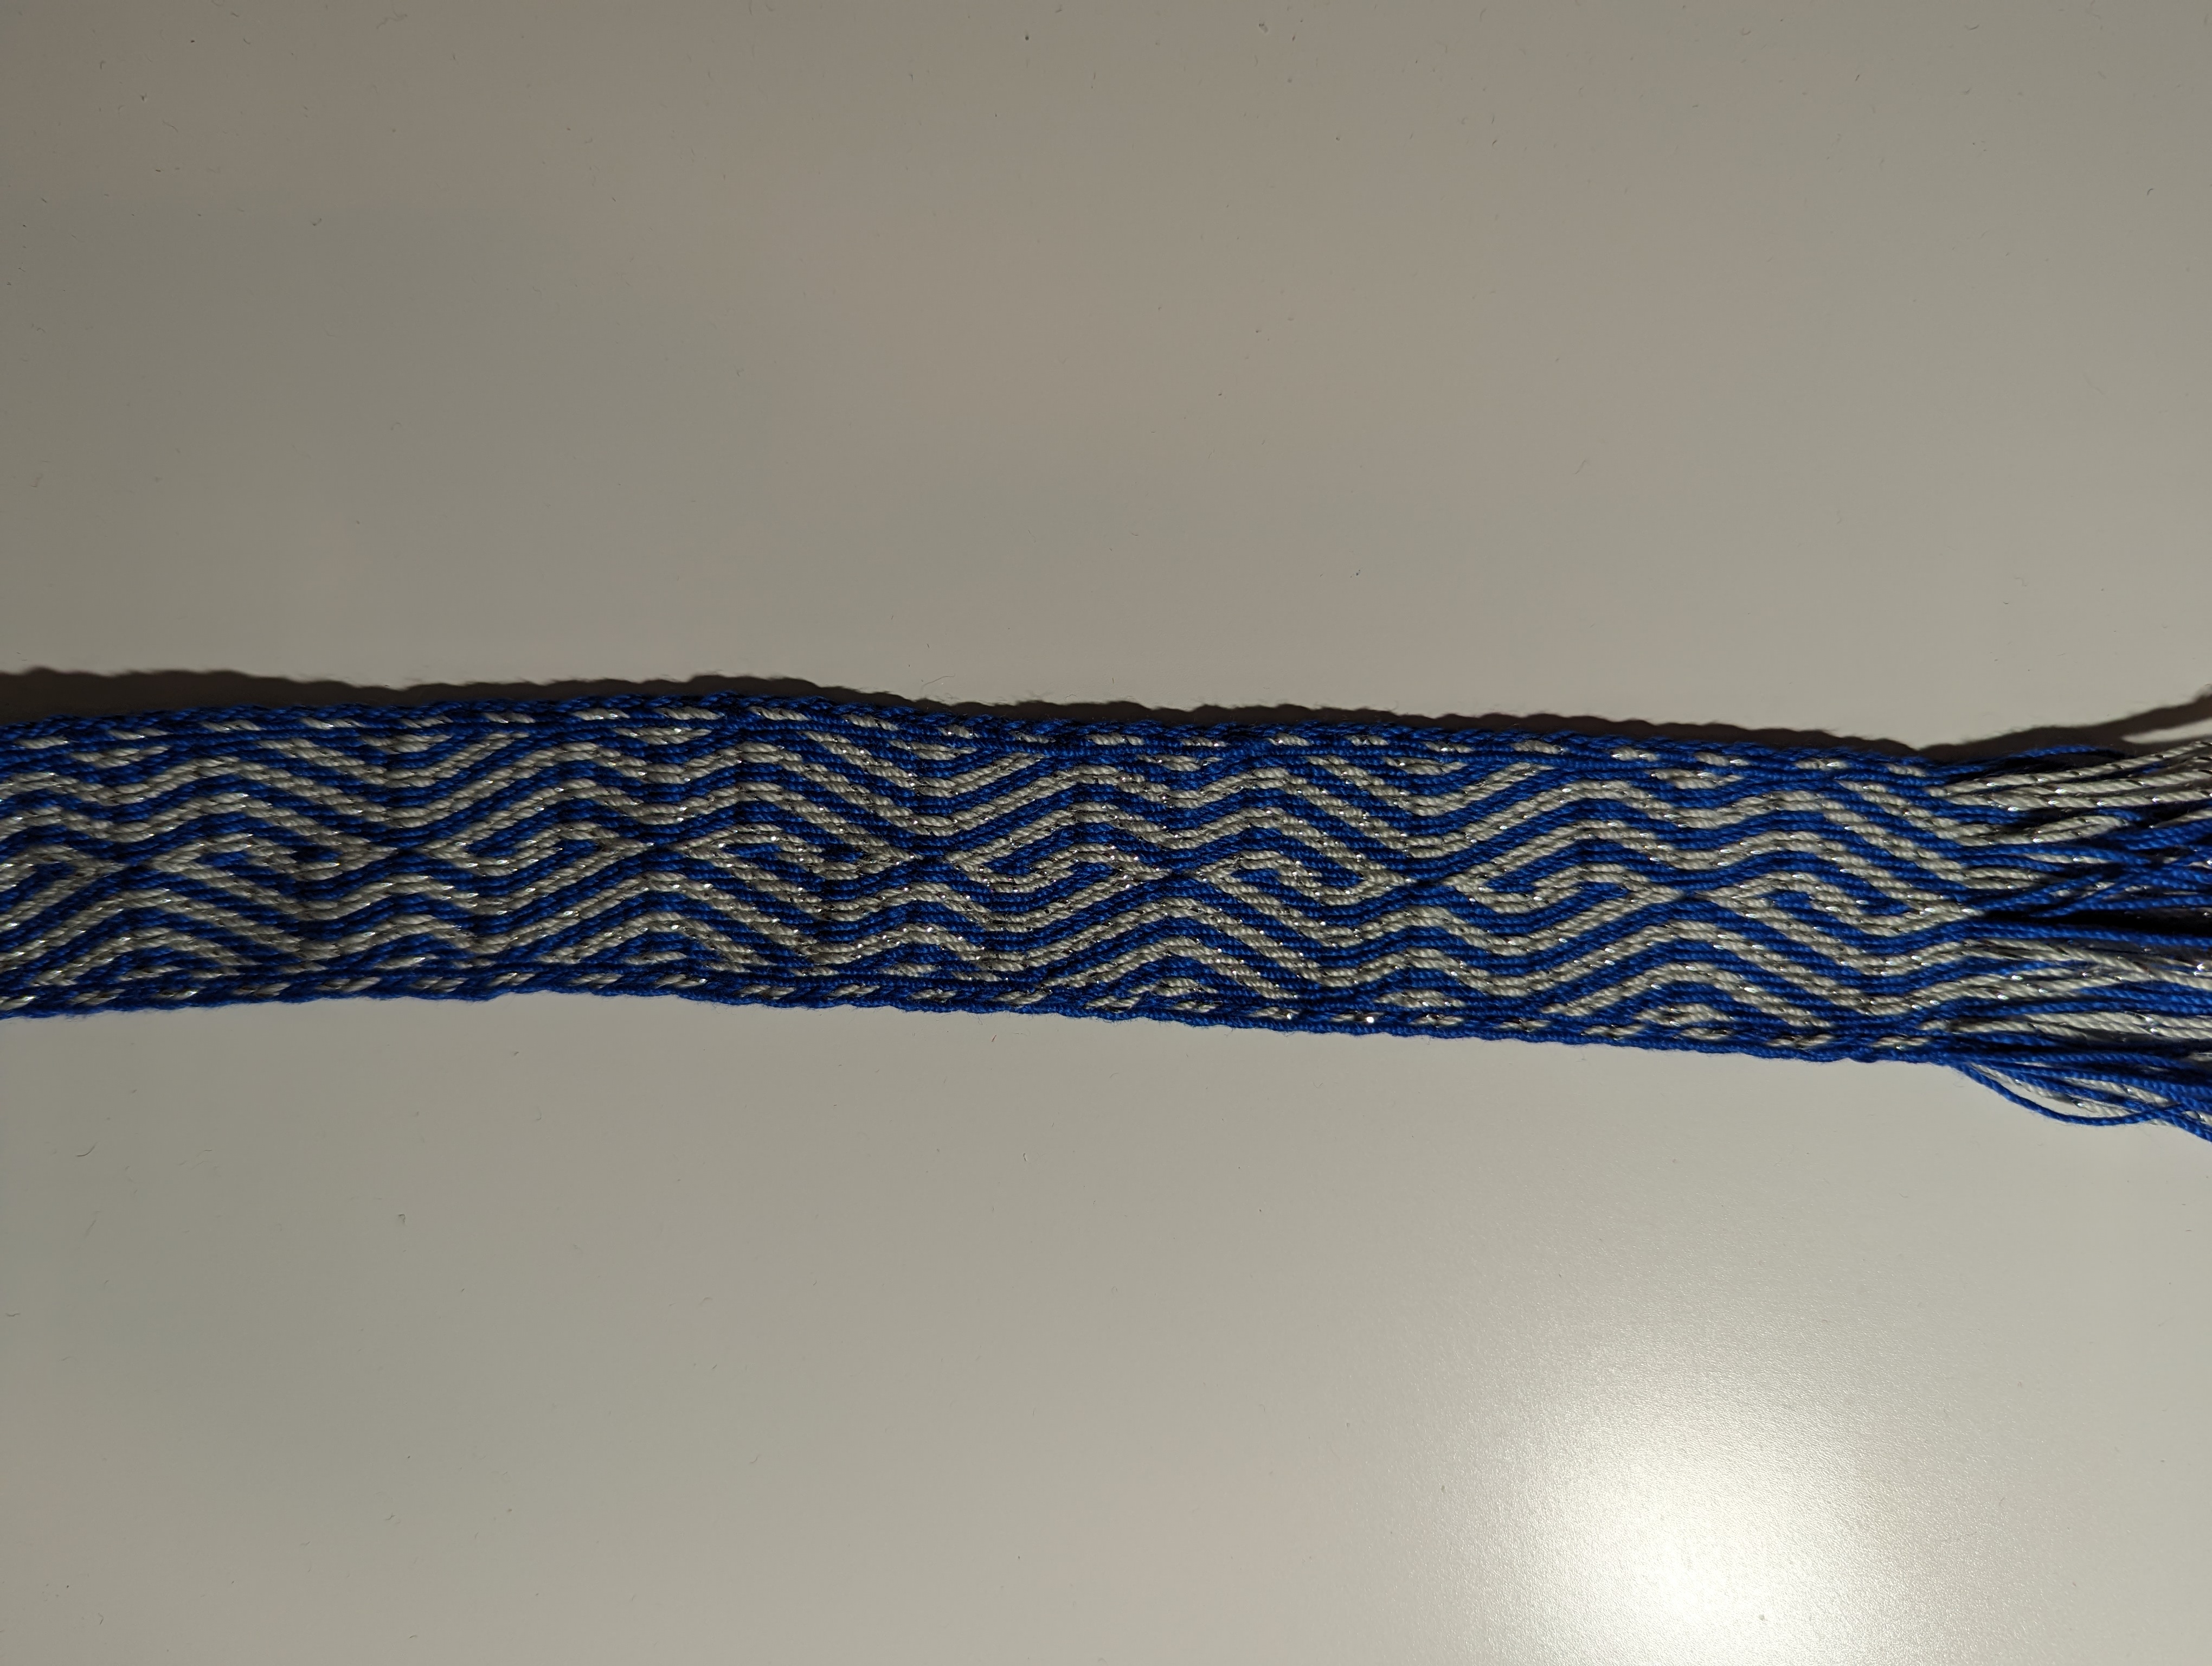
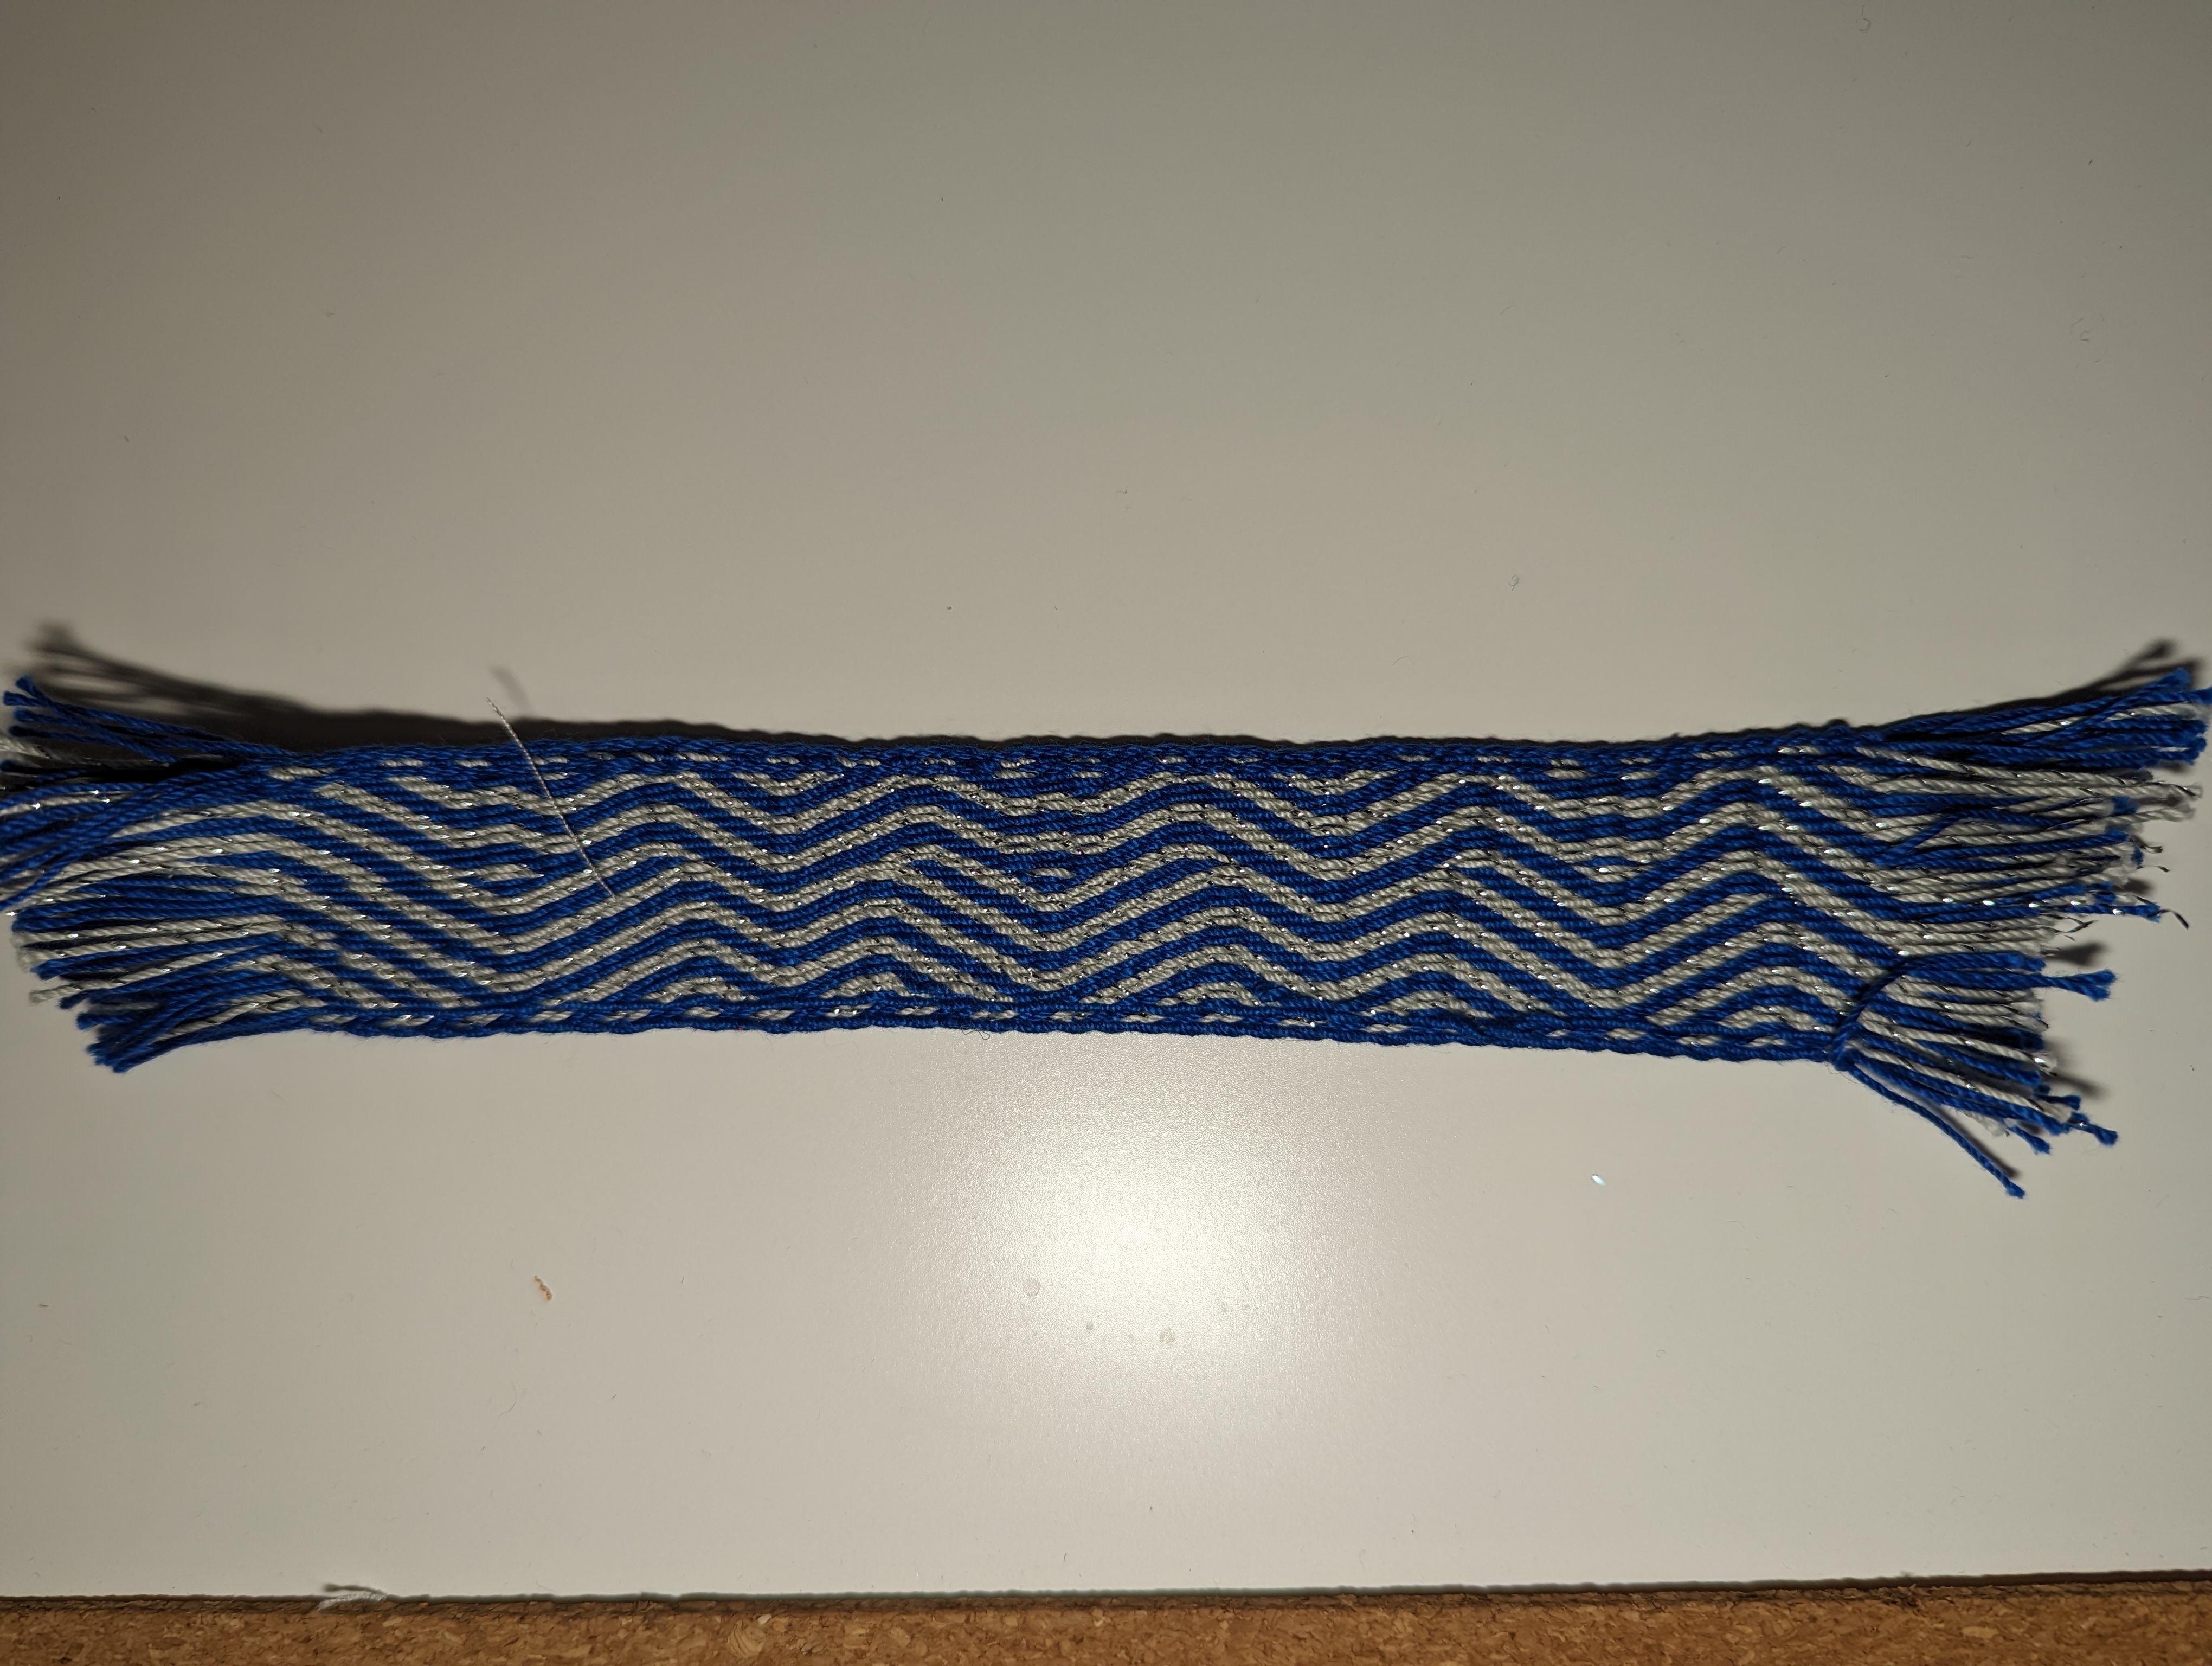
Swatch 7 – “Tree Climbers”
This is another pattern from Applesies and Fox Noses, Finnish Tabletwoven Bands. The pattern in the book is written for 6 pattern threads and looks more like a folded ribbon. It didn’t translate well to my extended warp. My swatch looks like waves with some jogs.
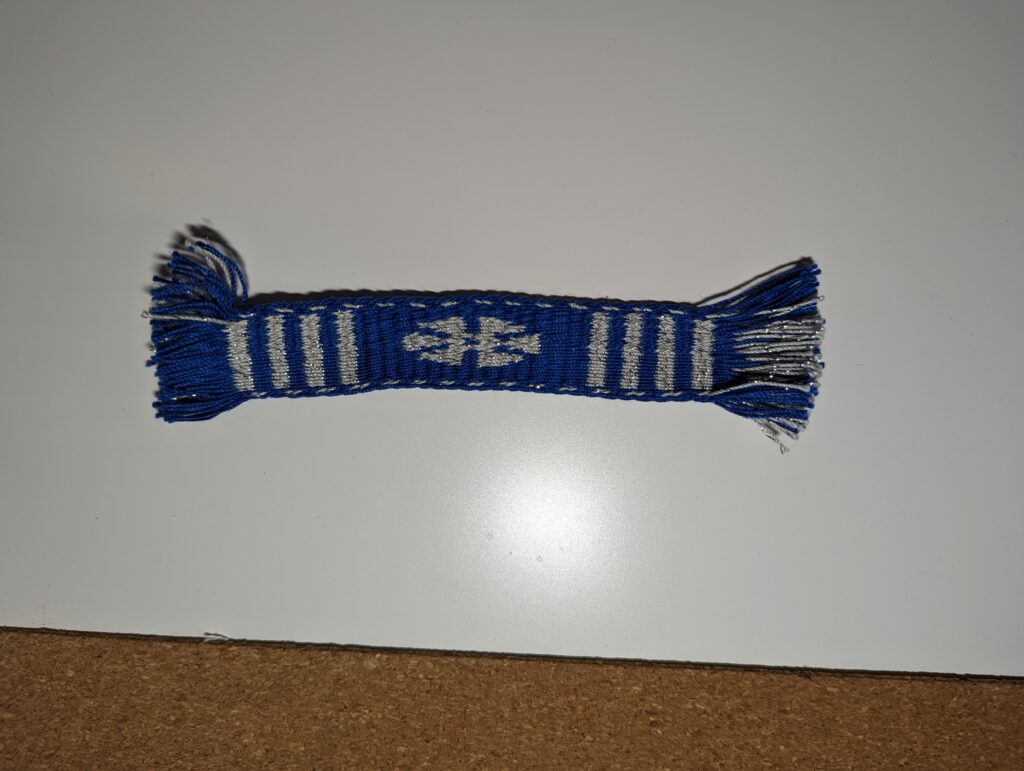
Swatch 8 – Horizontal Lines and Double-Face Flower
I started this section as a horizontal stripes pattern. I realized that the pattern would easily transition into a double-face weave. I’ve been wanting to try this for a while, so I found a small flower motif to try. (From Peter Collingwood’s The Technique of Tablet Weaving)
In the future, I will use a smaller thread for the weft when warping for double face weaves. The flower ended up stretched because I used the same size of thread for the weft as the warp.
For horizontal stripes, you just turn the cards continually forward. Double faced weave is based on alternating 2 rows forward and 2 rows reverse. Any cards that need to change colors are turned the opposite direction from the static cards.
Swatch 9 – Lettering in Double-Face Weave
My success in trying the flower made me want to do more double-face. I chose to try some lettering. Peter Collingwood’s The Technique of Tablet Weaving has a lettering chart in the section devoted to double-face weaving and I decided to give it a try. I like it a lot. As with Swatch 8, I came to the conclusion that I need to find a finer weft thread for my double face weaving efforts, but the letters are still readable and I really like how it turned out.
On this one, I chose to flip the cards. For my flower, the left half of the deck is Z threaded and the right is S threaded. Based on information from the book, I chose to use an alternating threading pattern. This gives this swatch a pebbled look in the background that Swatch 8 doesn’t have.
