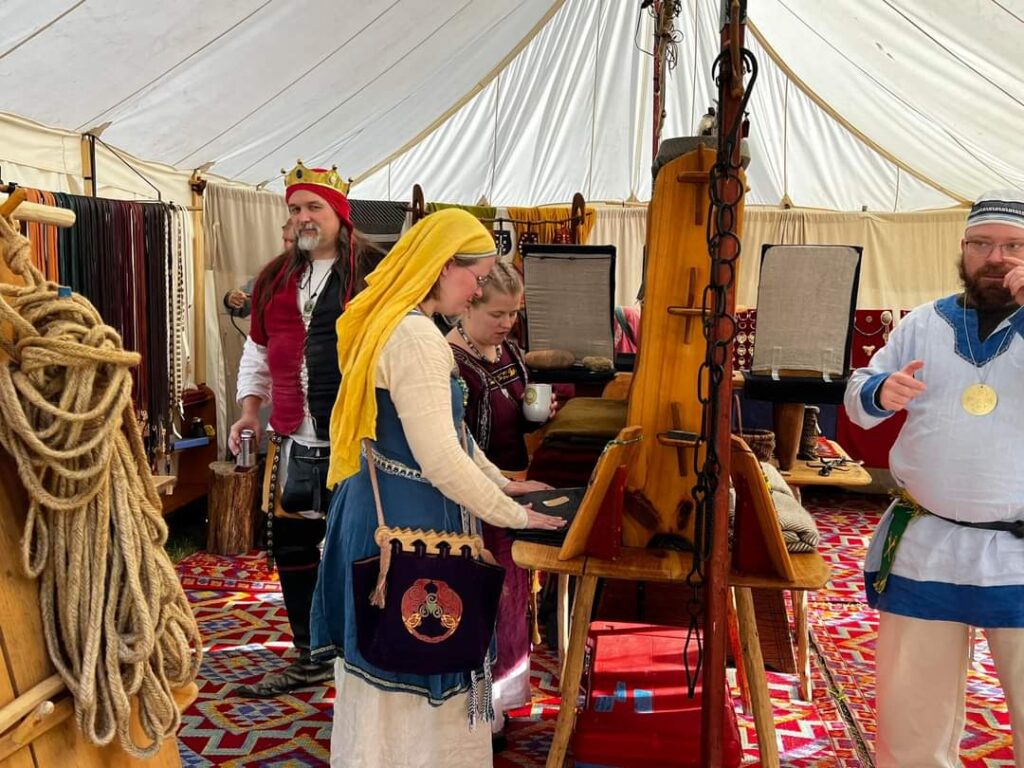
A response to the pouch challenge issued by Lord Auðin Hrafnsson in 2021.
The Hedeby (or Haithabu) bag is a style of frame handled bag based on extent remains found in a trading settlement in Schleswig-Holstein known as Haithabu (in German), or Hedeby (in Danish/Swedish). Hedeby was the second largest Nordic city during the Viking Age. Similar wooden bag handles were found in Birka and other parts of Sweden. No actual bags have survived, although small remnants of fiber and thread were found threaded through the holes on the handles.
Given that very little of the textile portion of the bags remains, the recreations that have been worked by various crafters and historians is speculative. We can extrapolate design aspects based on what we know of their materials and methods used for other textile crafts. For instance, we know that they had wool, linen, and leather available easily. Silk has been found used as embellishment in their textiles, but often in small amounts, implying that it was too precious to use extensively. Cloth in general was precious, as it was handspun and handwoven. Patterns were cut to limit waste, so many of the clothing styles involved rectangles with triangle gores to allow for some level of fit or flare. Taking this aspect into design of the bag, we can extrapolate a “boxy” shape to the bag, created out of rectangles, which would leave little waste.
Design Process
For my design process, I relied heavily on the findings and designs of other SCA crafters. I based my design on the examples I found most aesthetically pleasing and functional.
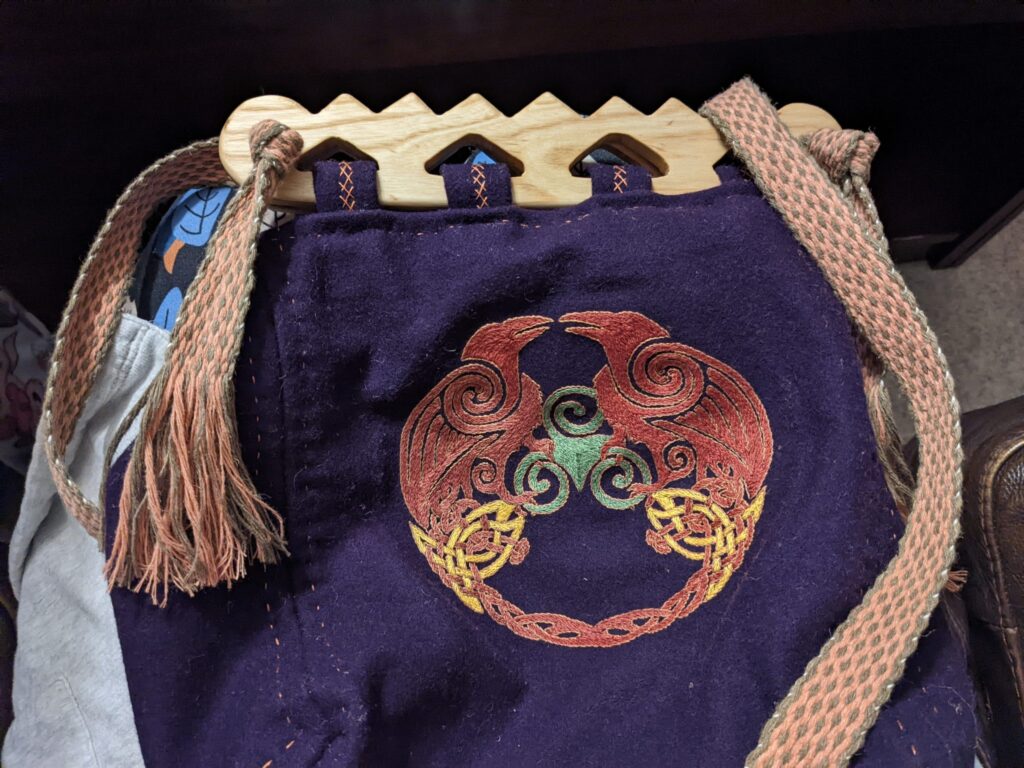
After exploring Pinterest and looking at the various styles that other crafters have shared, I chose to make a wool bag with a linen lining. I chose to use fabric strips to attach the handle to the bag. Several designs (with historic evidence to back it up) used twine lacing to attach the bag to the handle, but I like the look of fabric strips. I am also not convinced regarding the durability of the twine lacing and want a long-lasting bag.
Here is my material list:
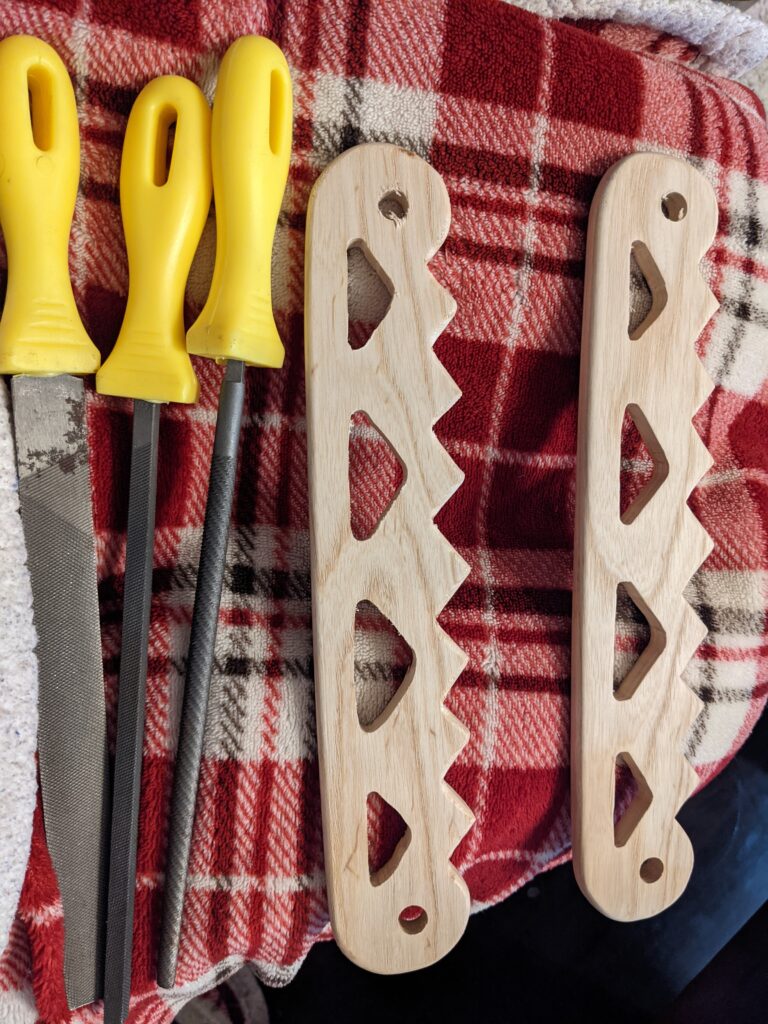
- Handles – acquired from Master Avery and Mistress Bear. The handles are based on the sawback handles from the Hedeby find. Per Mistress Bear, they charted out the measurements from pictures and descriptions of the artifacts, so they are the correct size.
- Shell – Melton wool from Joann Fabrics. The fabric is a wool/polyester blend. Cost is usually about $23/yd, but I purchased it on sale at a considerably cheaper cost. This project took less than a yard.
- Lining – IL019 linen purchased from fabric-store.com. I used a remnant from another project. The project took less than a yard.
- Embroidery thread – DMC cotton embroidery thread. I used this for al the sewing on this project, to include construction seams, seam treatments, and embroidery. Historically, they would have used wool or linen thread for the construction and wool or silk for the embellishments. I chose to use cotton embroidery thread because I have a lot of it and it is readily available in all of the colors I need. I did use beeswax on it when stitching the seams.
- Yarn – Hemp yarn for the handle.
Acquire Bag Handles
Since the width of the bag depends on the size of the handles, the pattern could not be drafted until I had my handles. I was lucky enough to get a set of bag handles from Master Avery Austringer.
Drafting the Pattern
Looking at multitudes of photos online, I decided the bags I liked the best extended just past the strap holes on the handles. On my handles, that length was about 9.25” and I rounded it up to 10”. For the length I decided on a length of 12”. I looked at several pictures of open bags and decided that the depth should be somewhere between a third and a half of the width. I went with 6”.
I looked at several assembly options and decided that I liked a 3-piece assembly template. I went with the front-bottom-back + 2 sides method. Once I had everything drafted on paper, I cut the wool. I waited to cut the linen because I was sure the embroidering step would take me a while. It ended up taking a couple of months, so I am very glad I waited.
Embroidering
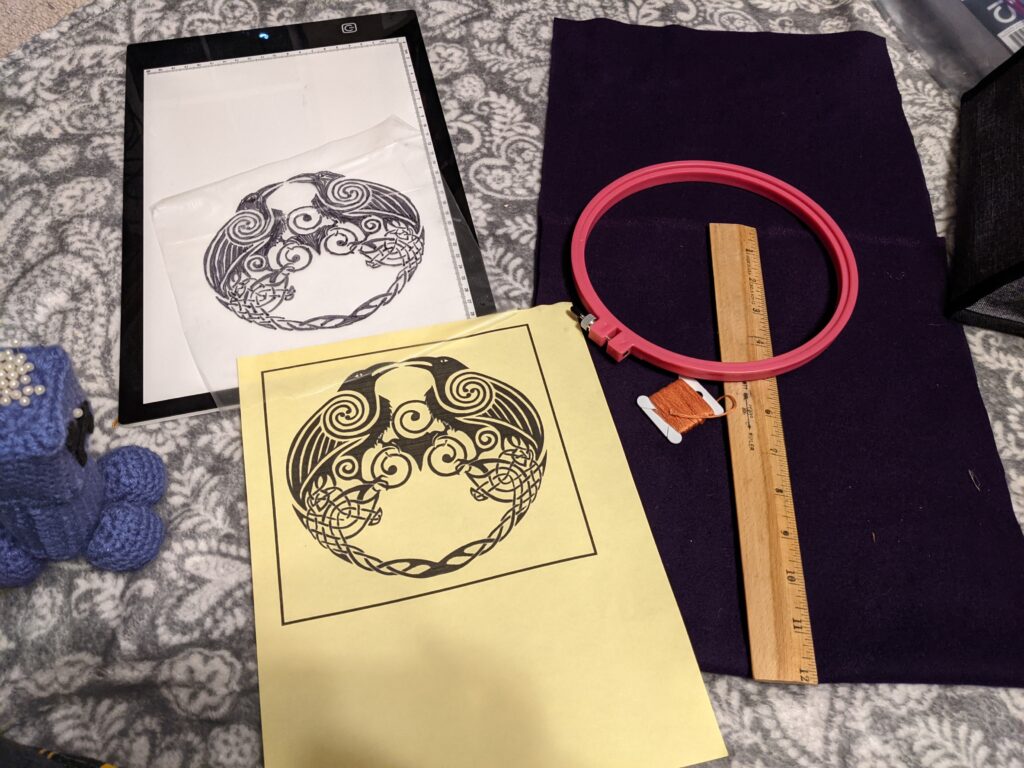
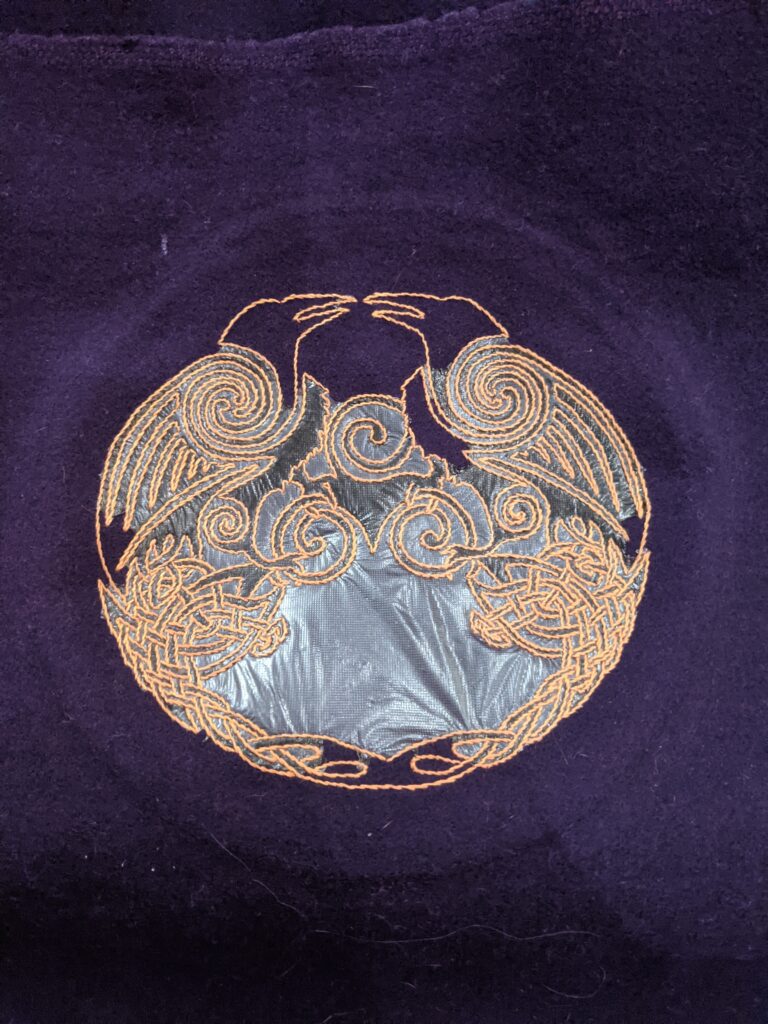
I chose a picture from Pinterest for my embroidery design. It is not a historic design, but it does have two ravens on it, so it will work with my Norse persona. Based on the size of my bag, I decided that the embroidery design should be about 6” wide and printed the design at this scale.
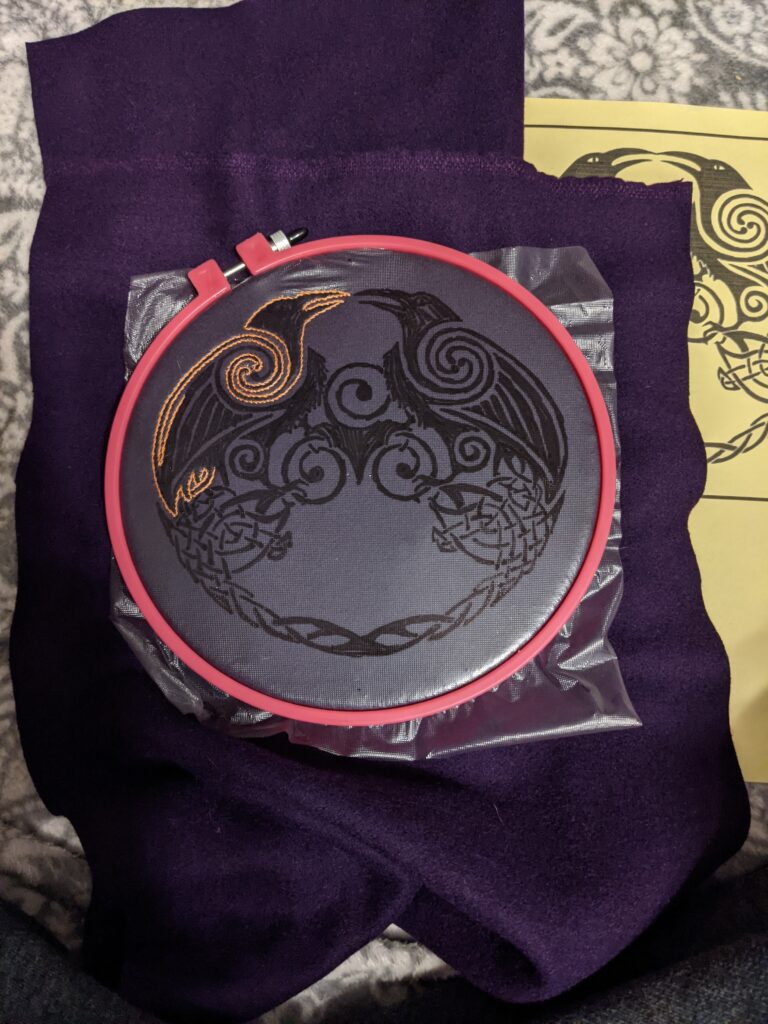
Since my wool is dark purple, I chose to use Sulky water-soluble stabilizer. It is similar to stitching through plastic wrap, but it is effective. I used my lightbox to help trace accurately, although since the stabilizer is clear, I could probably have done it without the lightbox.
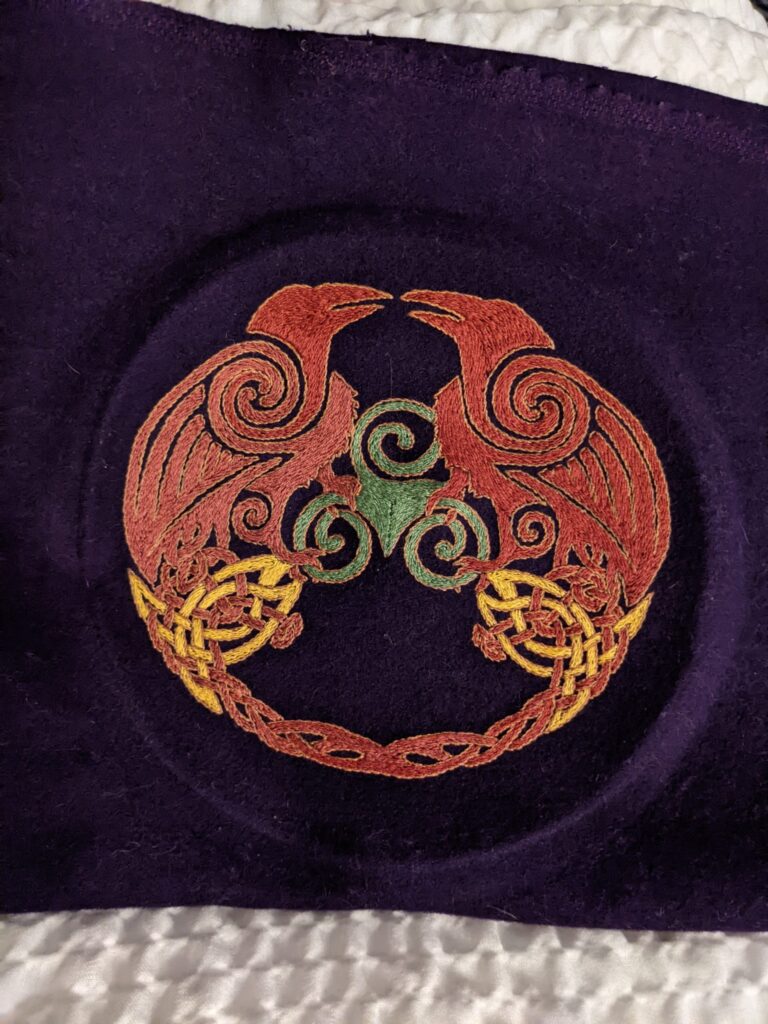
Once I had the pattern transferred onto the stabilizer, I positioned it on the wool and pinned it in place. Then I secured it in the embroidery hoop and started stitching. I did the outlines in stem stitch and then removed the stabilizer by soaking the wool in water. After the wool was dried, I filled the pattern using stem stitch.

Assembly of Shell and Lining
To assemble the shell, I first machine-basted the pieces together. I chose to do this so I could look at the proportions before I spent time stitching. I’m very happy I did this step because I wasn’t happy with the initial look. I ended up cutting a full 2 inches off the length of the bag. I used back-stitch to sew the seams and then flat felled the allowances. I like the symmetrical look that opening the seams flat gives, so I chose to go with that method.
For the lining, I measured the finished shell, added seam allowances, and cut the fabric in the same pattern as the shell. I added an interior pocket to the lining. I measured it to fit my cell phone, since that’s what I figured I will use it for. Once the interior pocket was attached, I sewed the lining using back-stitch and flat felled the seam allowance.
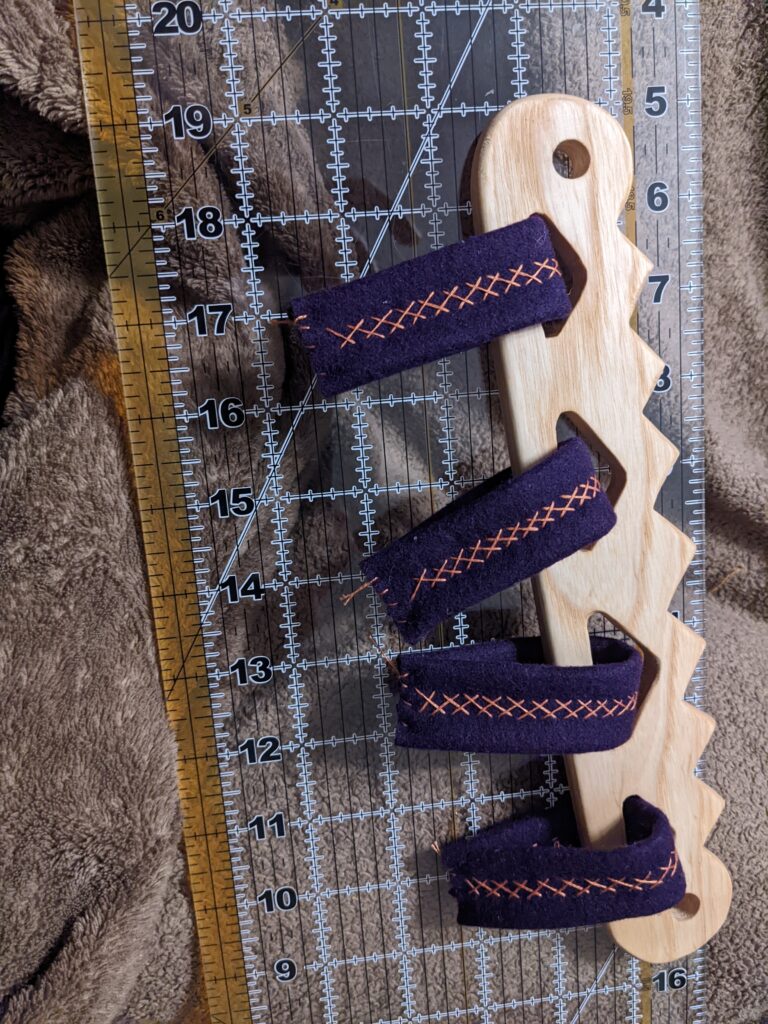
My handles required 4 straps each to attach the bag, so I cut 8 loops, each 2”x8”. Then I folded them in half length-wise and basted them together. Last, I flattened them with the basting in the back and sewed a herringbone stitch down the center of each one.
Attaching Handles
The handles were unfinished, so I had a few steps to prepare them for use on the bag. First, I used files and sandpaper to smooth out the rough spots and chamfer down the sharp corners. Then, my wonderful significant other used some linseed oil to seal them.
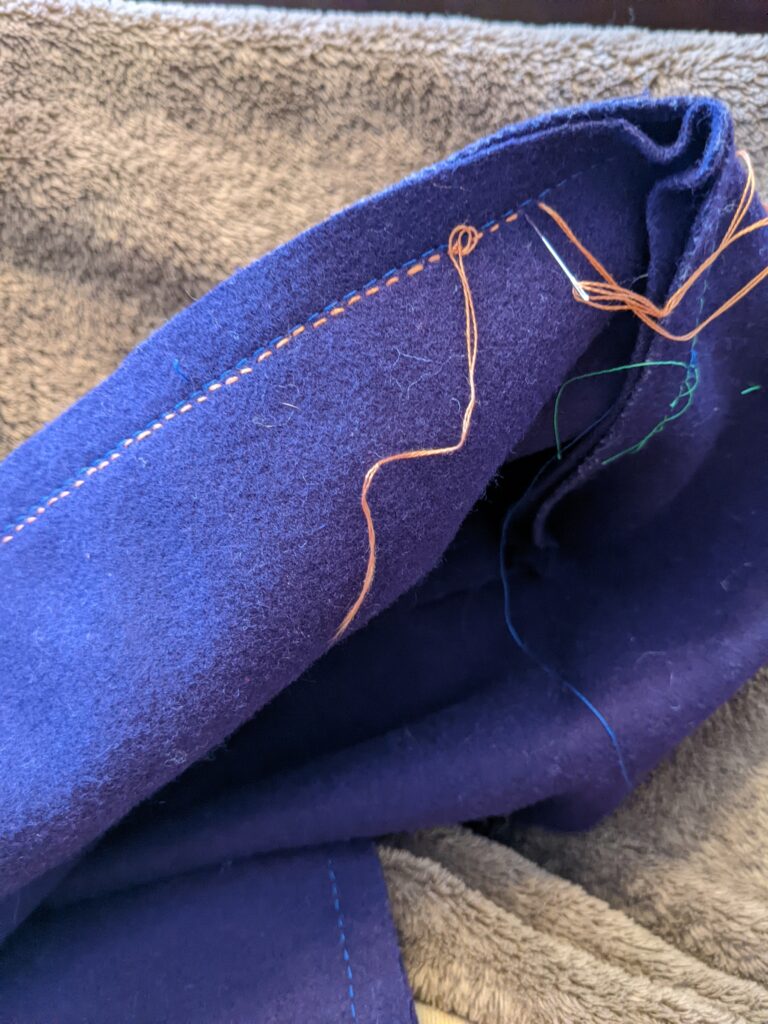
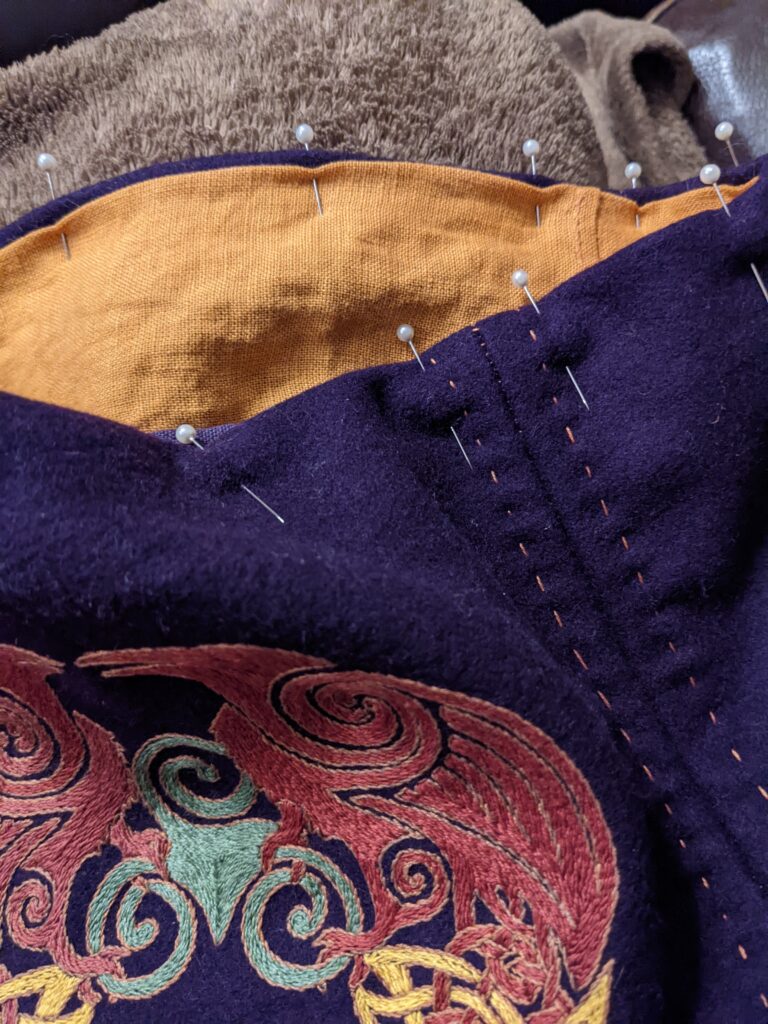
Once the handles were completely dry, I threaded the straps through the slots and basted the ends together. Then I placed the lining inside the shell (wrong sides together). I folded the top edges of both under, lined everything up, and pinned it securely. I sewed the sides together first, before the handles were in the way. After that, I tucked the straps between the shell and lining and pinned them in place. I attached the layers using a running stitch and then used a hidden hem stitch to connect the top edges.

Shoulder Strap
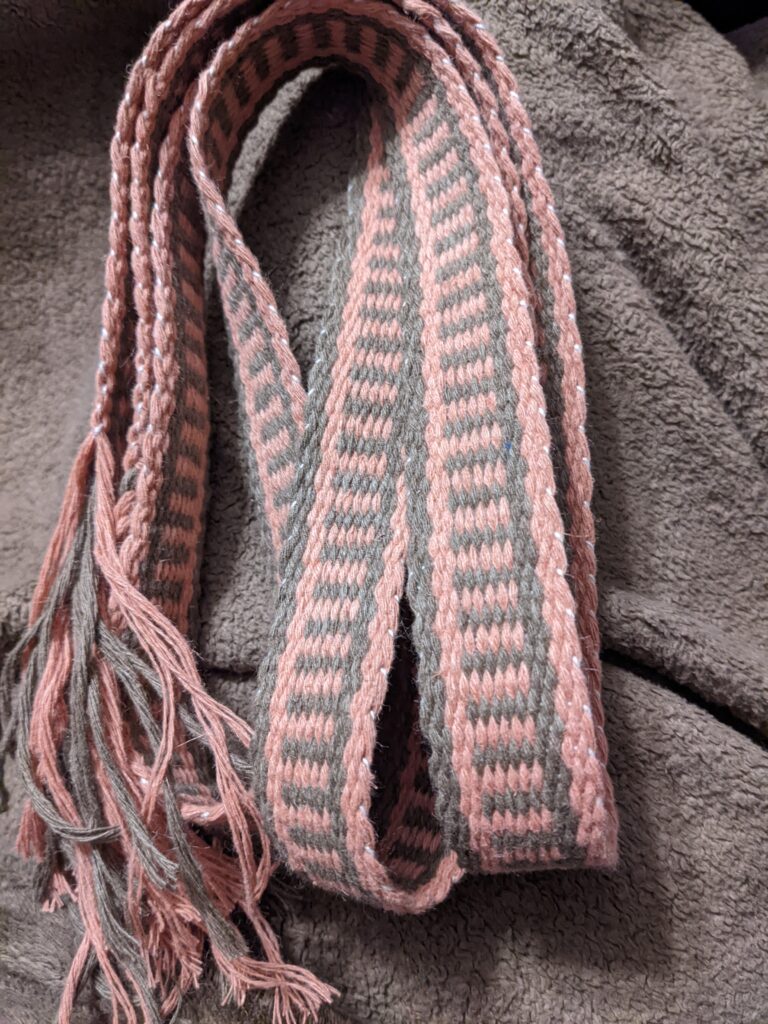
For the shoulder strap, I made a basic inkle loom band. I used hemp yarn for the warp and number 10 crochet thread for the weft. I ended up making 2 bands, because I made the first one too wide and it wouldn’t fit through the holes on the handles properly.
Once the strap was complete, I threaded the strap through the holes on the handle and tied a knot.
Lessons Learned
I learned a lot on this project:
- Wool is beautiful and fun to work with, but it is also thick (especially when it felts in the wash). Using a needle gripper will save your fingers a considerable amount of finger pain.
- Wash/rinse wool multiple times, especially if you are going to put embroidery on it. It gave off a lot of extra purple color when I dissolved the stabilizer.
- Check the size of your shoulder strap before you get too far into weaving. It’s not much fun to finish a full woven band only to find it won’t work for your purposes.